
Participant Instructions
Getting Started!
Installation Guide
1. Downloading from mobile browser
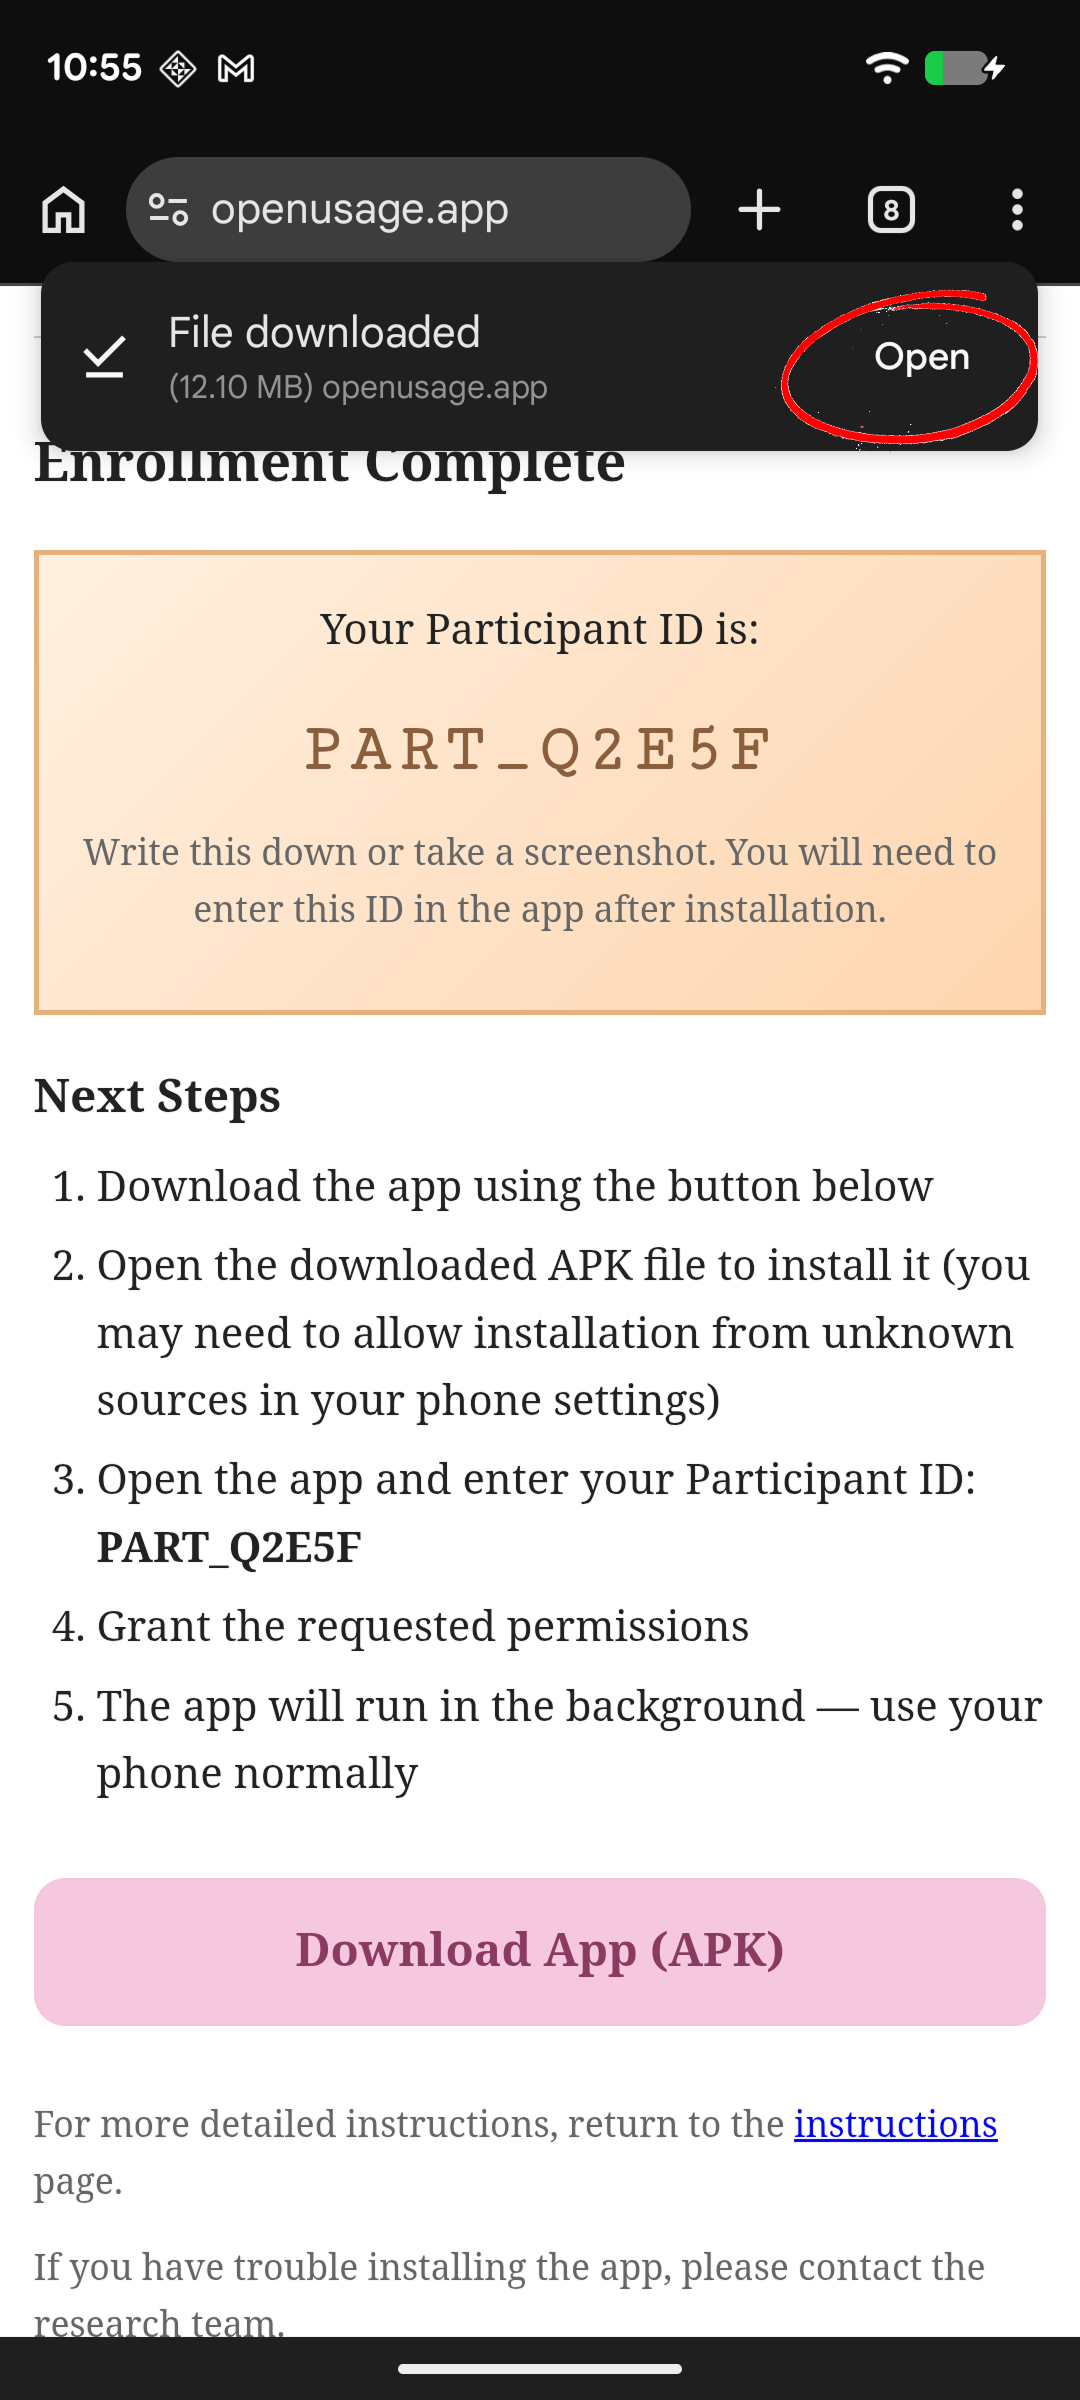
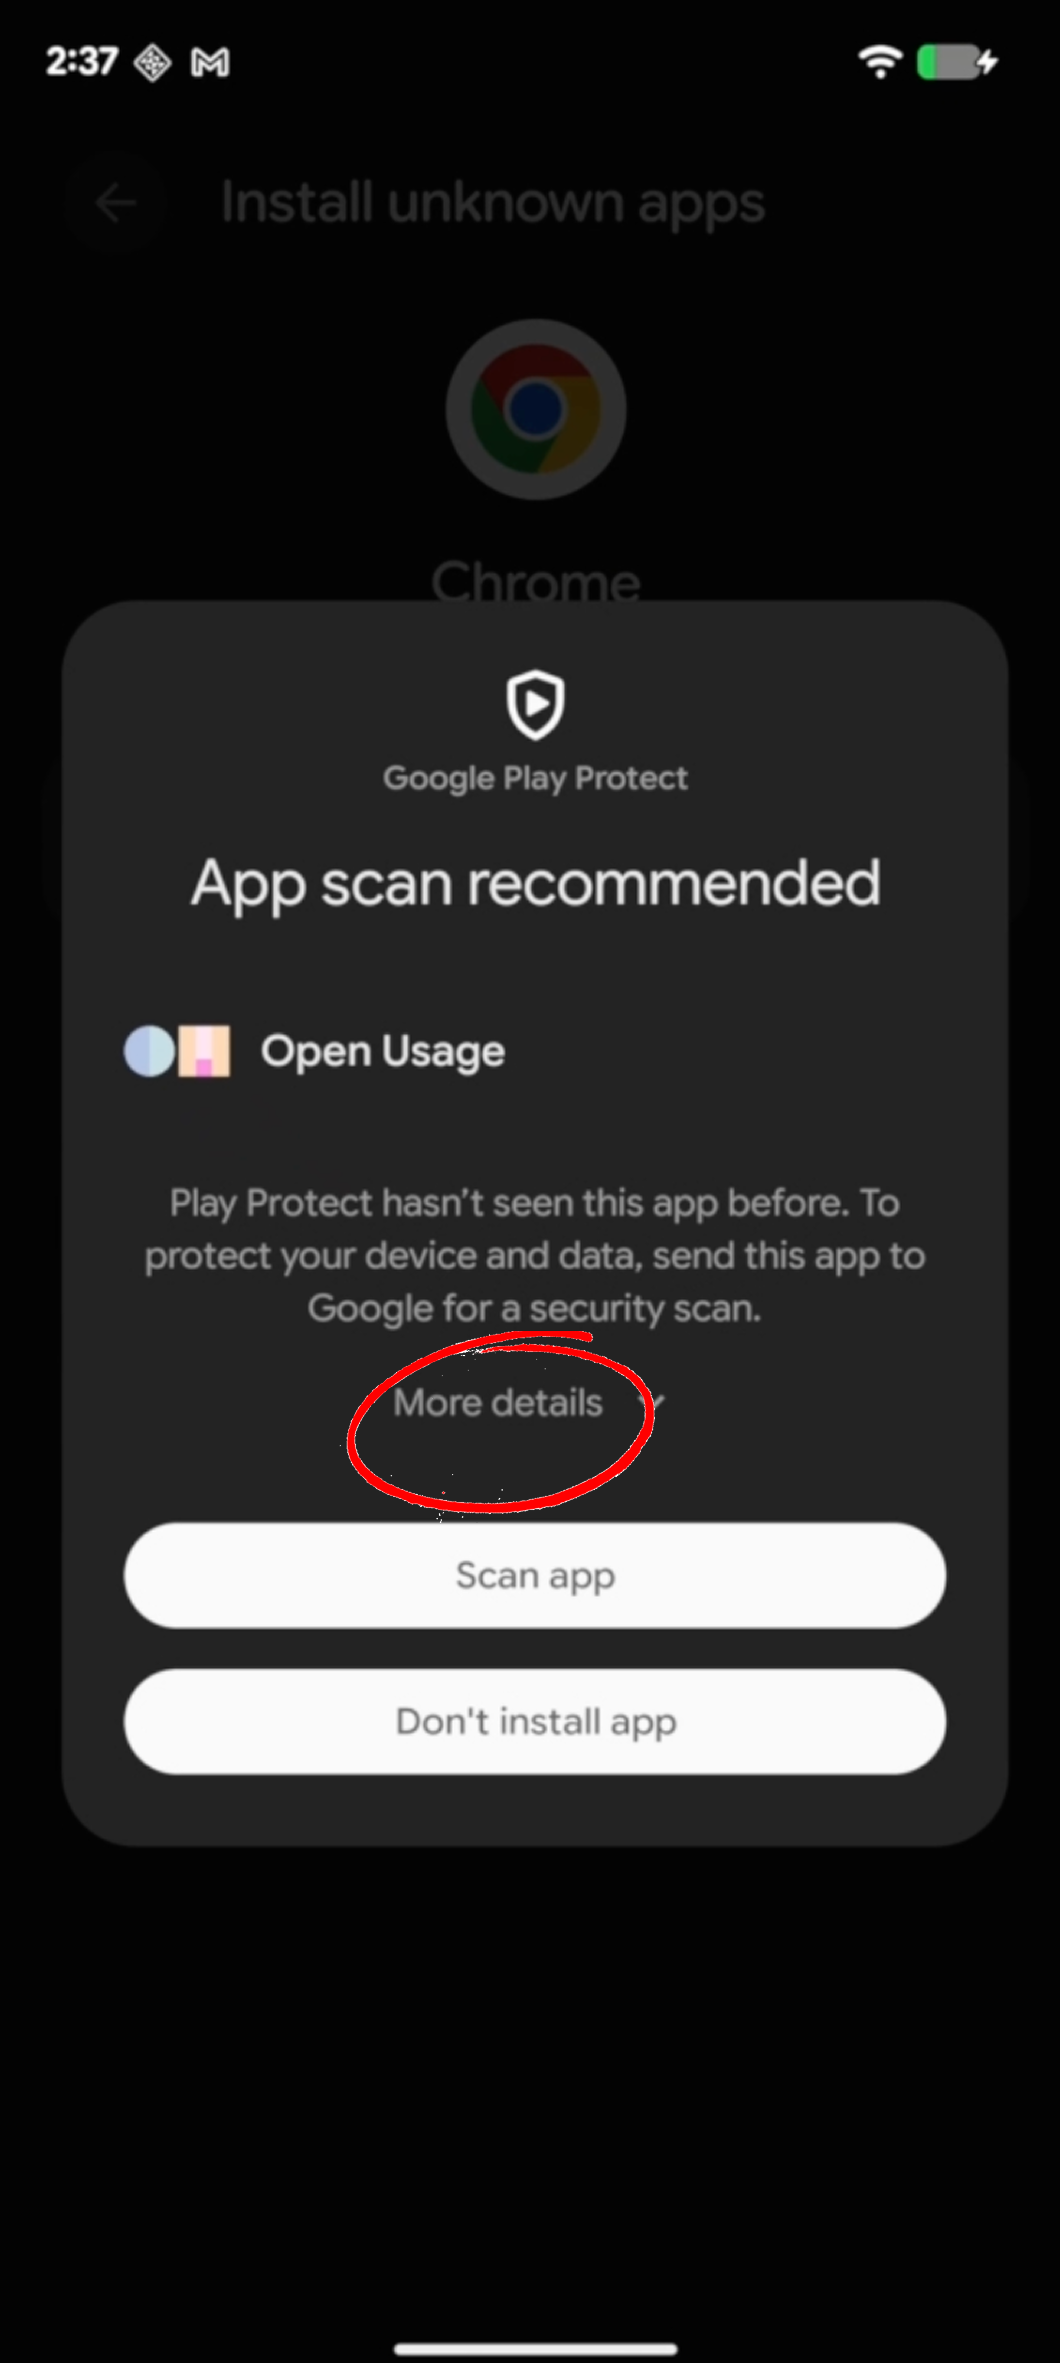
Upon completing the enrollment portion, you will enter the download page. This will contain some brief instructions, along with your assigned Participant ID and a download button. Please click "Download App (APK)", and once it has downloaded, click "Open" on the top right corner of your screen (circled in red in the image above).
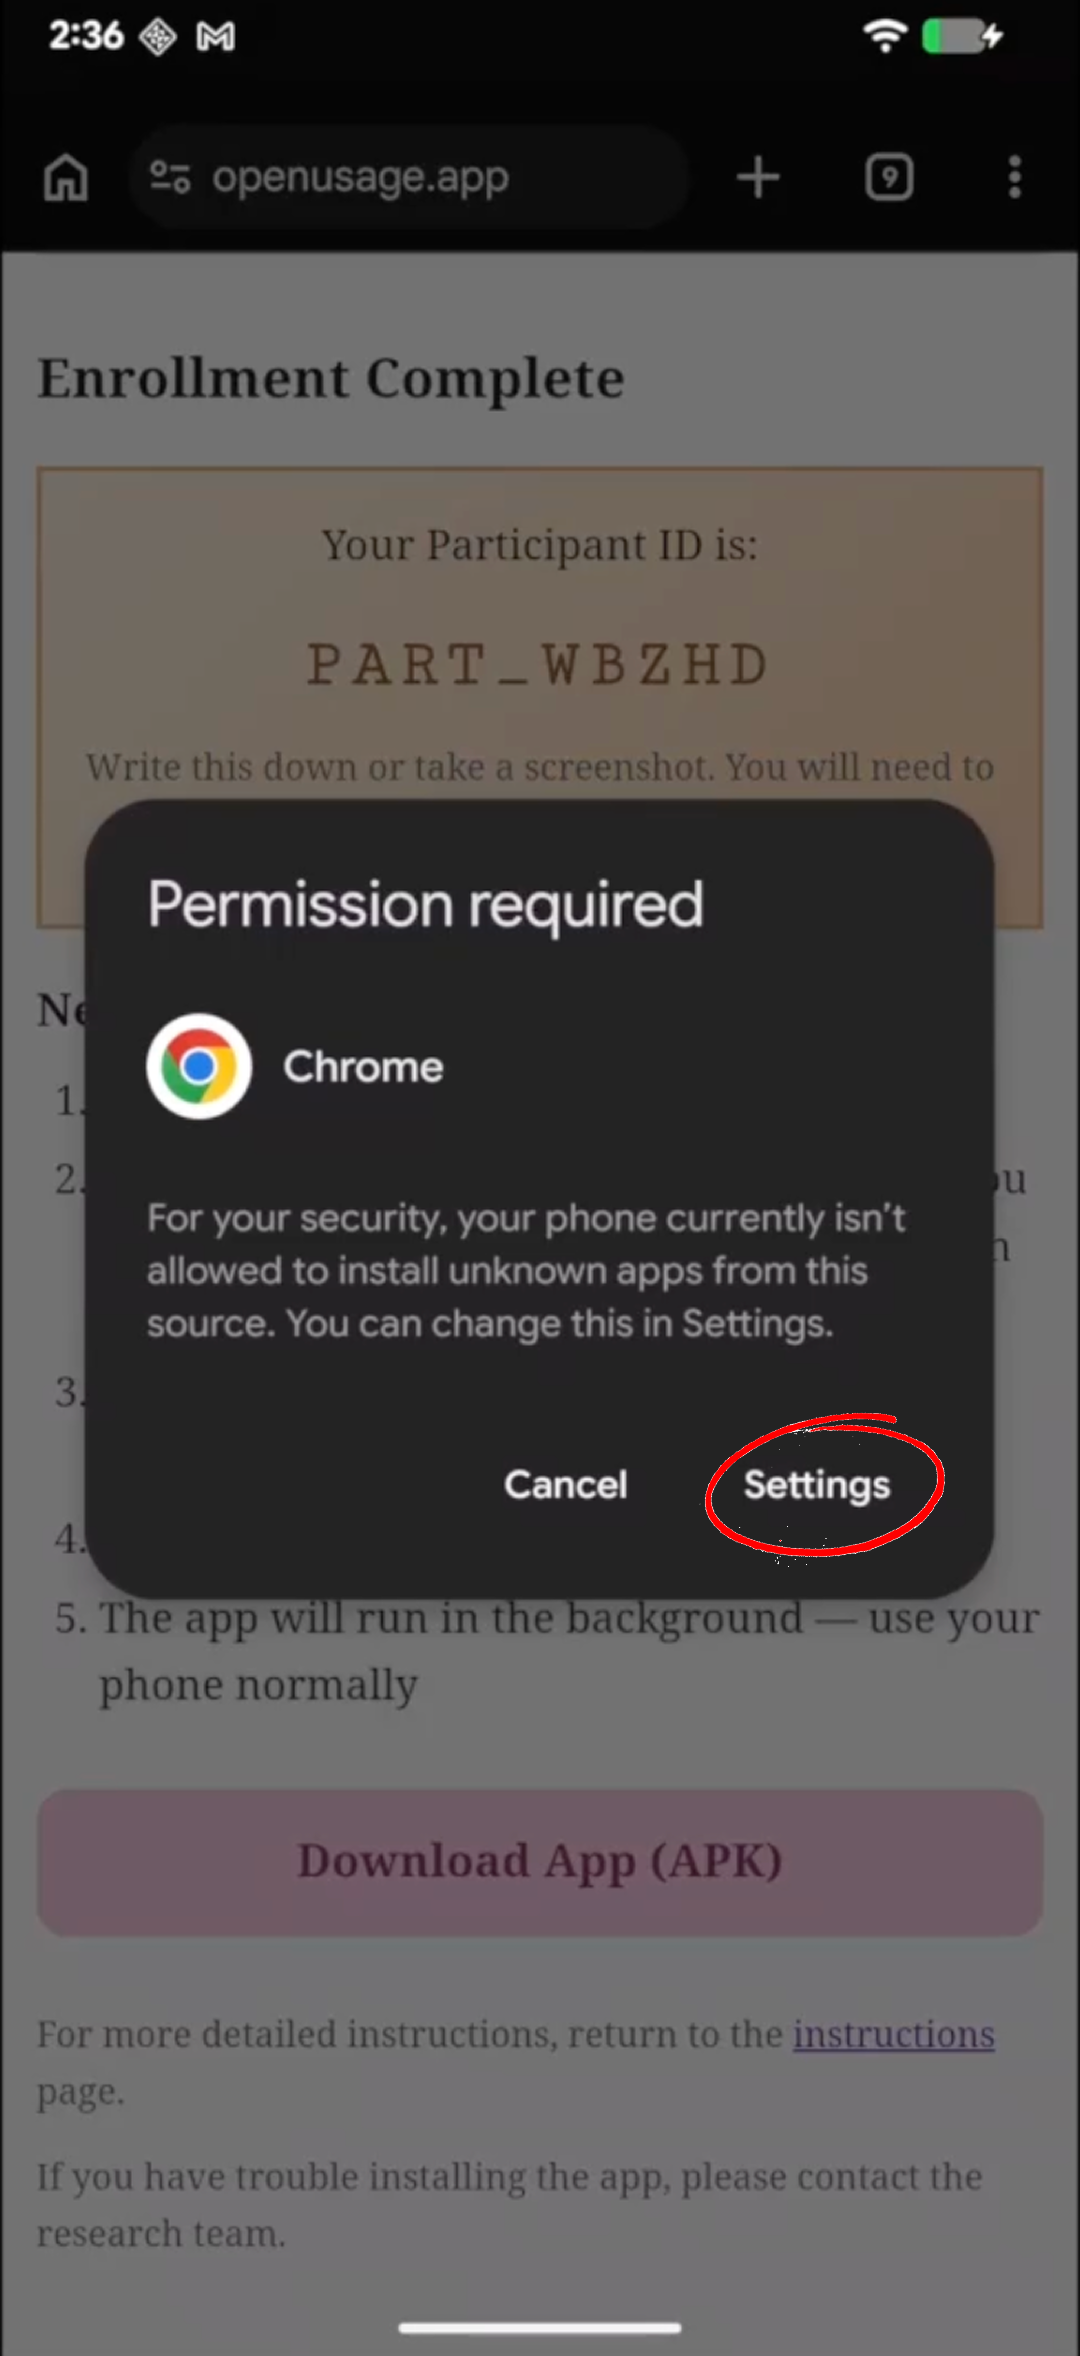
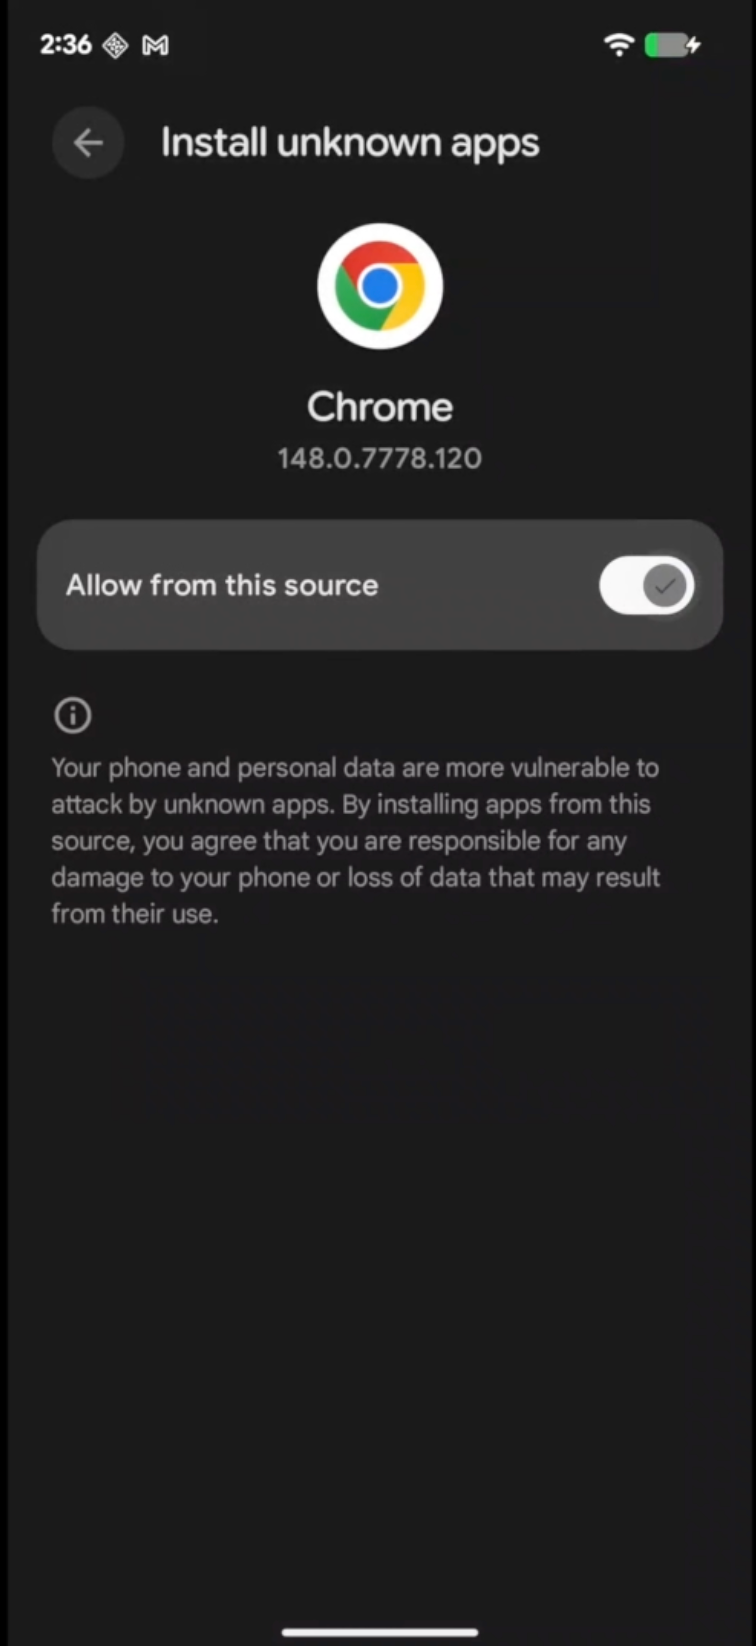
If this is your first time installing an app from this browser, you may be prompted to grant permission for the browser to install applications. Select "Settings", then enable "Allow from this source" to continue.
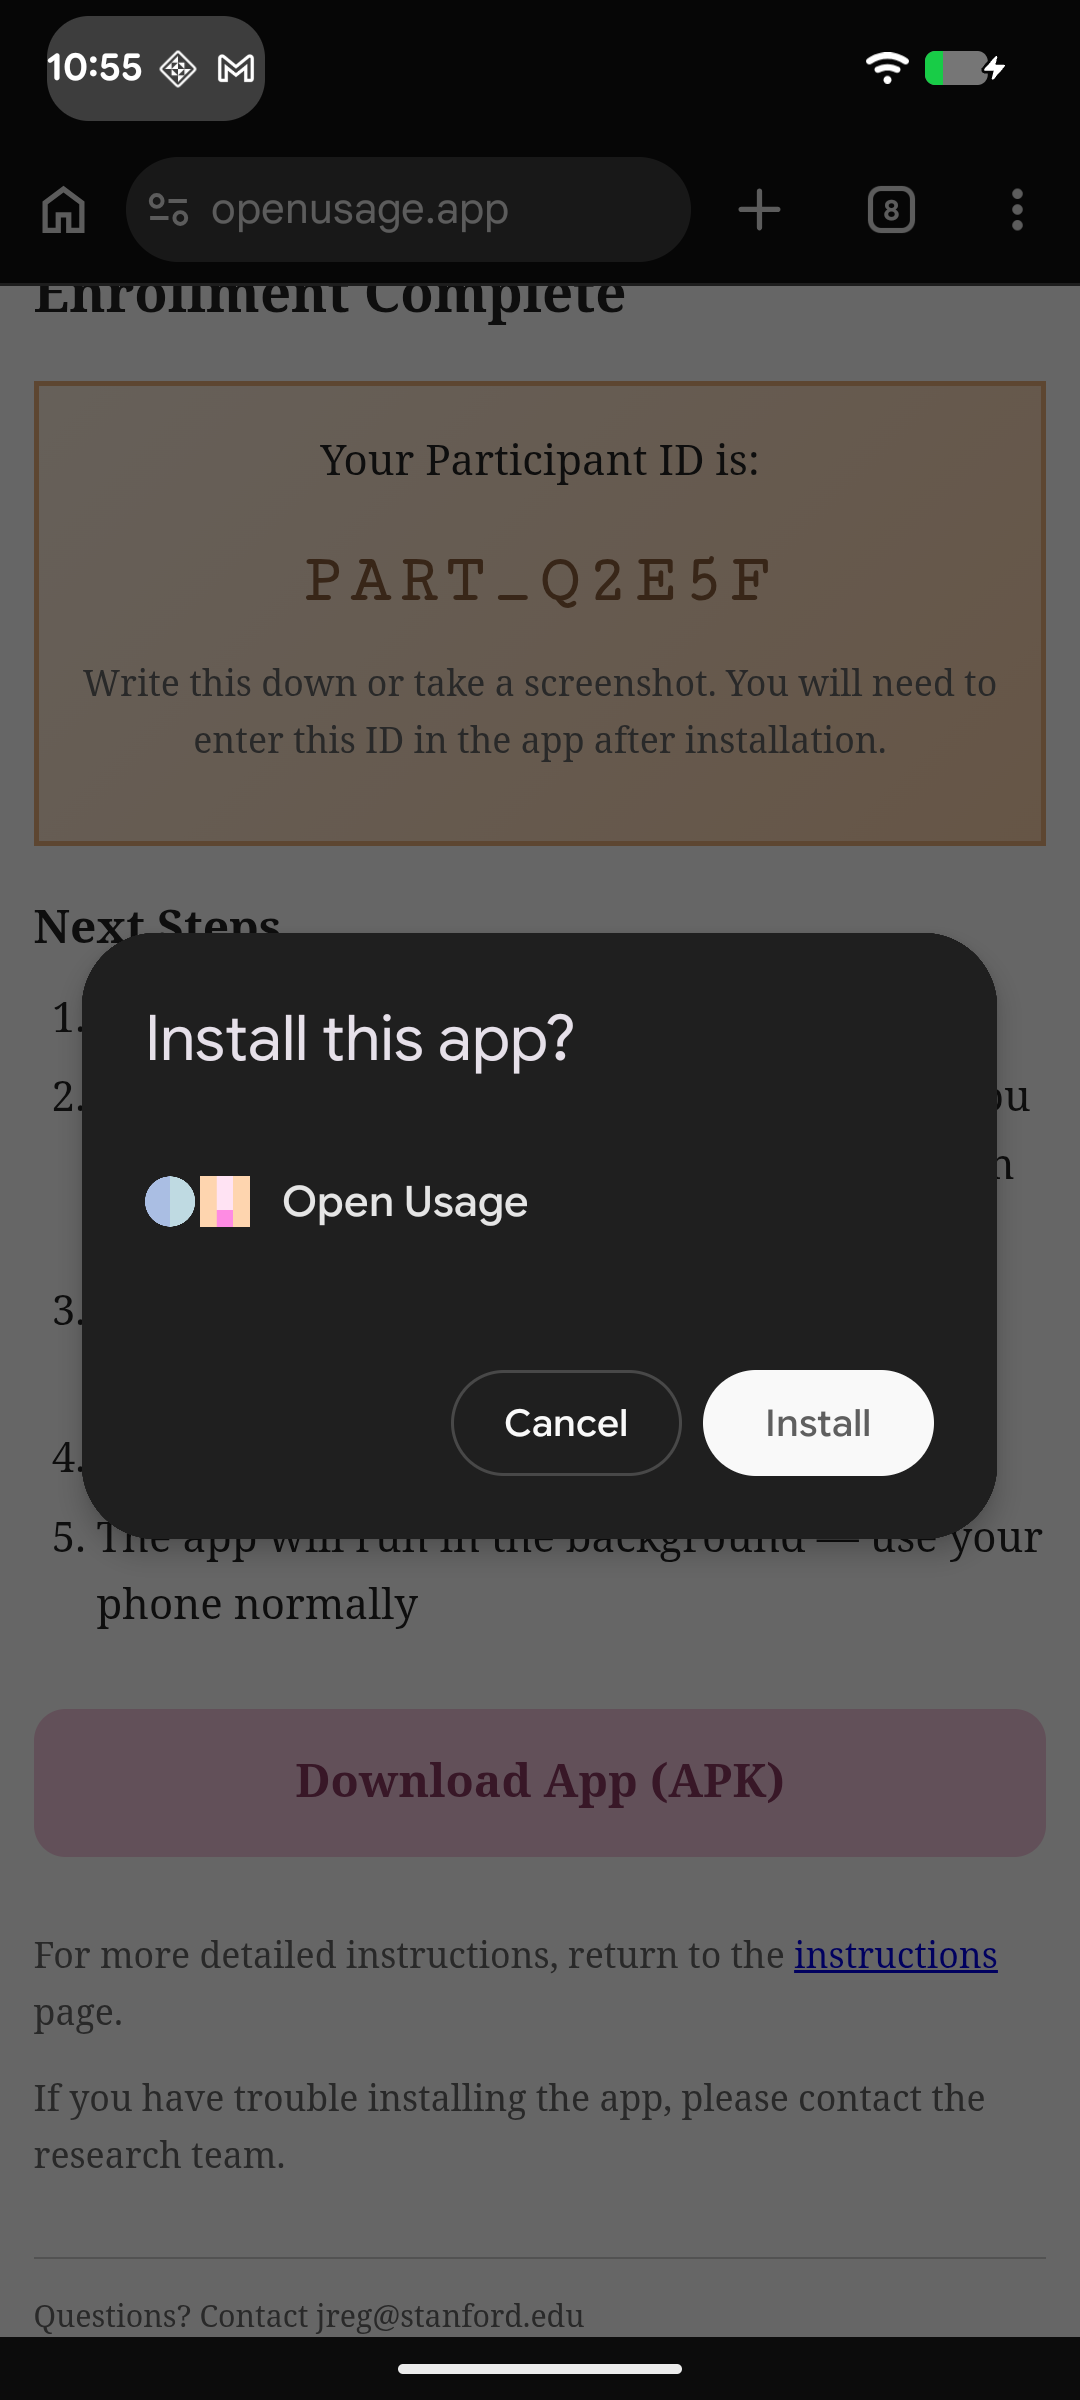
After enabling permissions to allow your browser to install unknown apps, you will be able to install the app. Click on "Install", which will likely provide an extra prompt, seen in the image below.
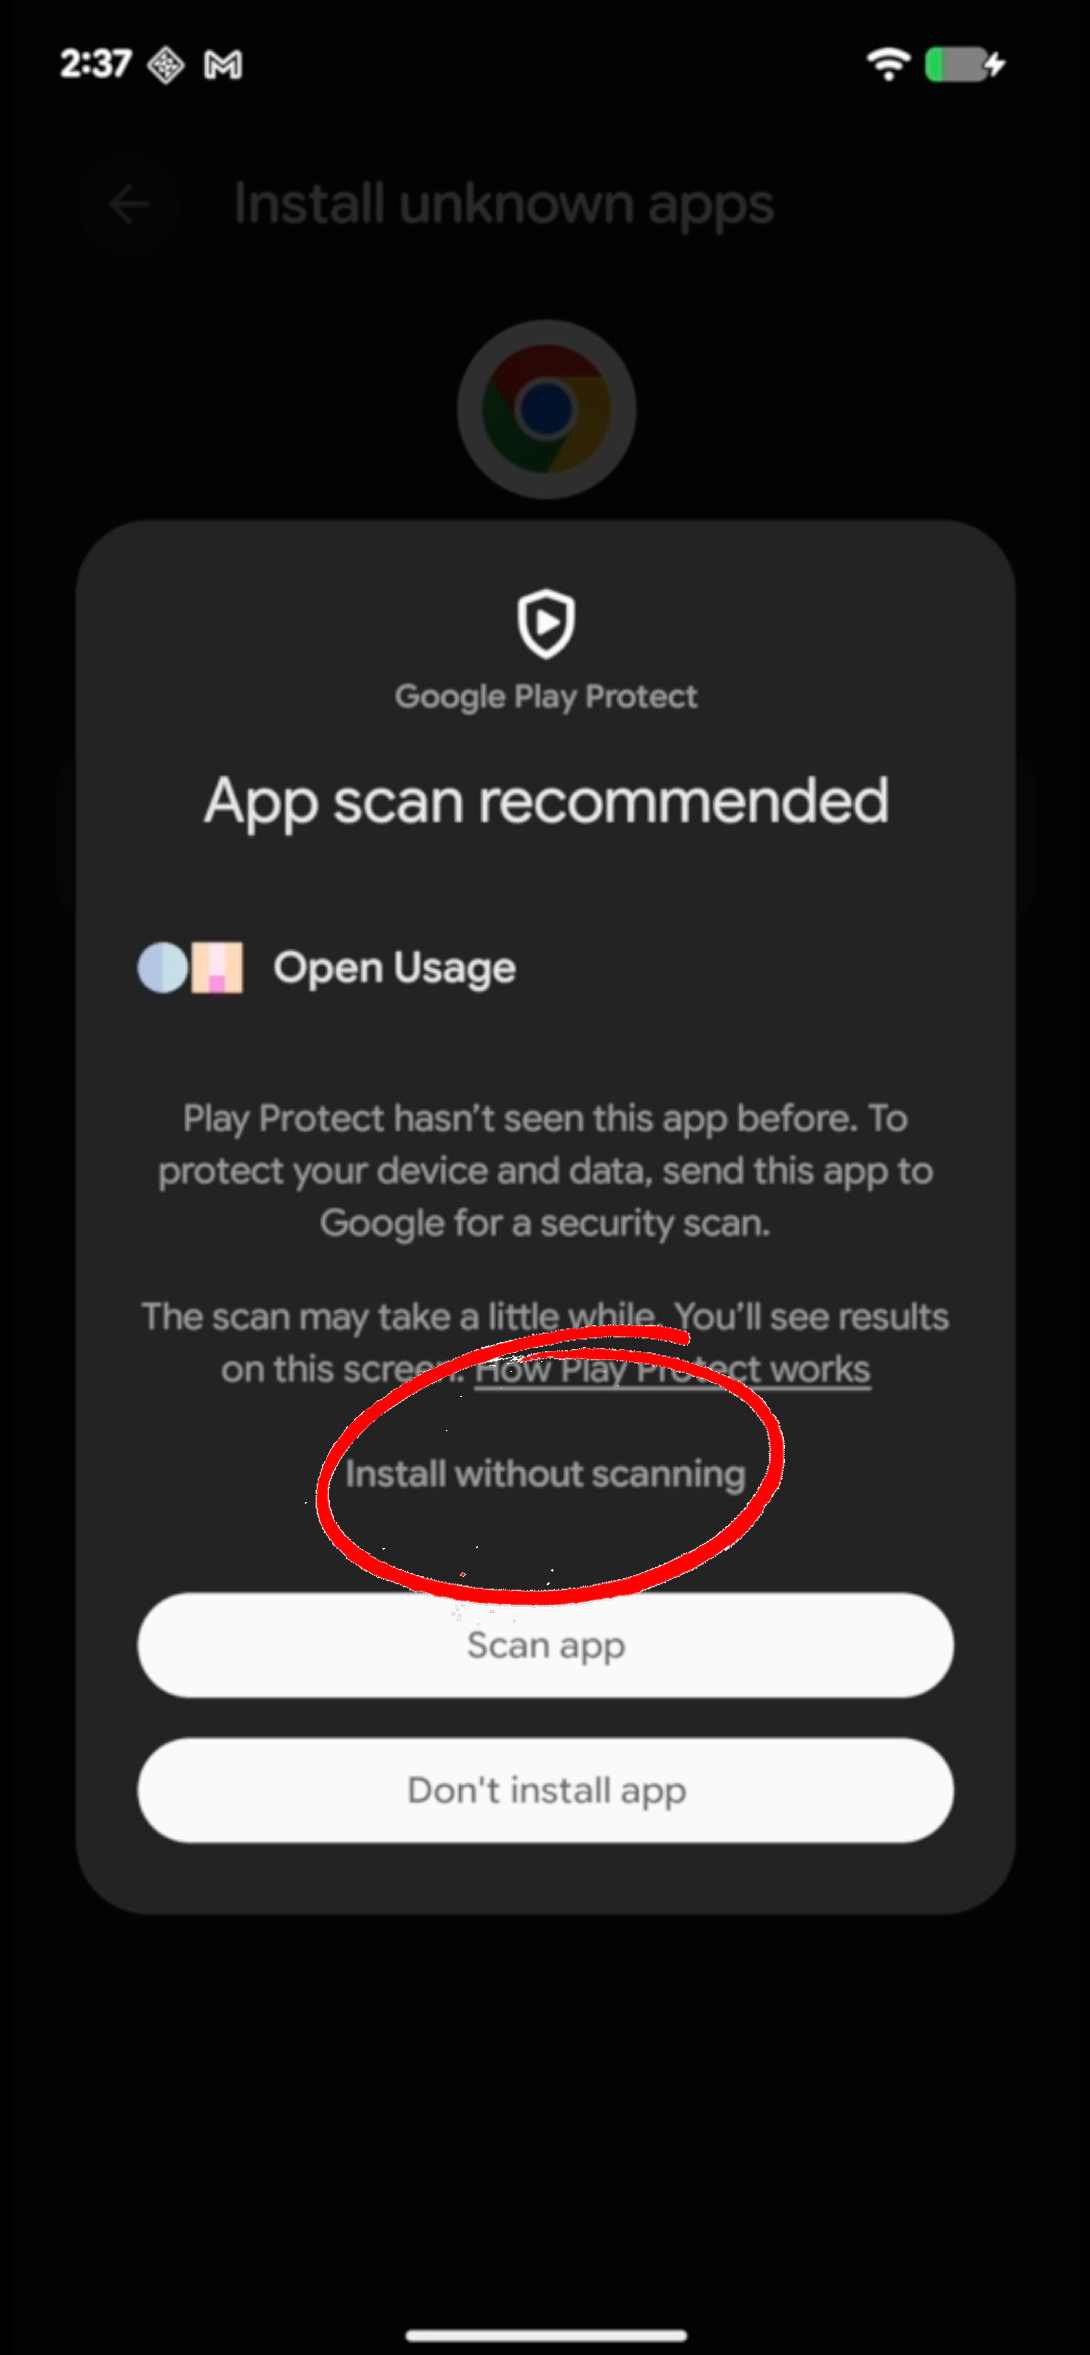
You may choose to scan the app before proceeding, or can simply select "More details" and "Install without scanning", which will allow you to skip the scanning step.
If you choose to scan the app...
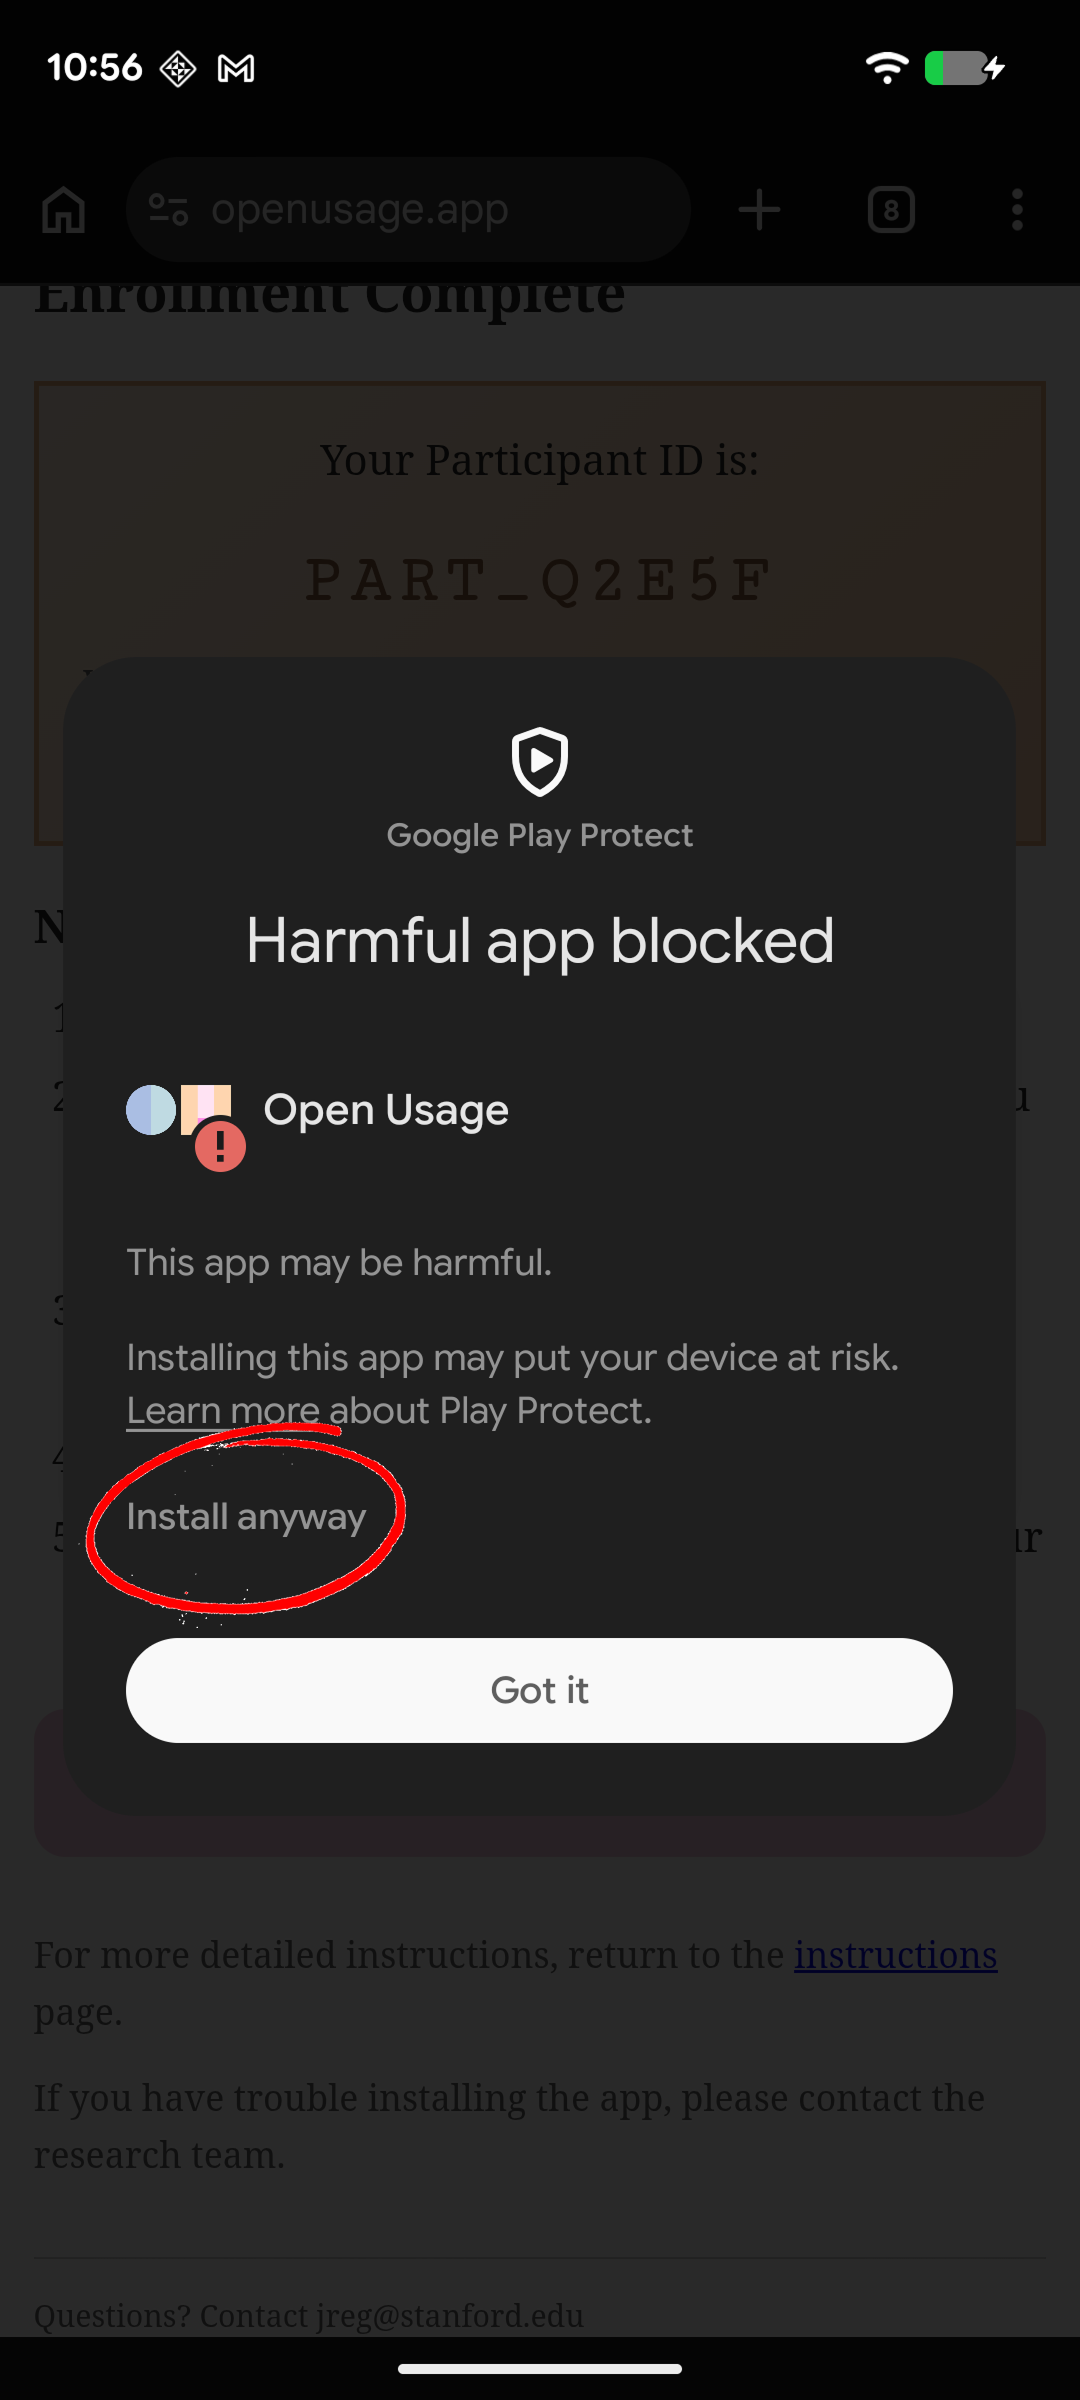
Due to the extensive data collection involved with this study, Google Play Protect may mark the application as harmful after scanning. If prompted with this, simply click "More details" > "Install anyway", as seen in the image above.
2. Enabling special permissions
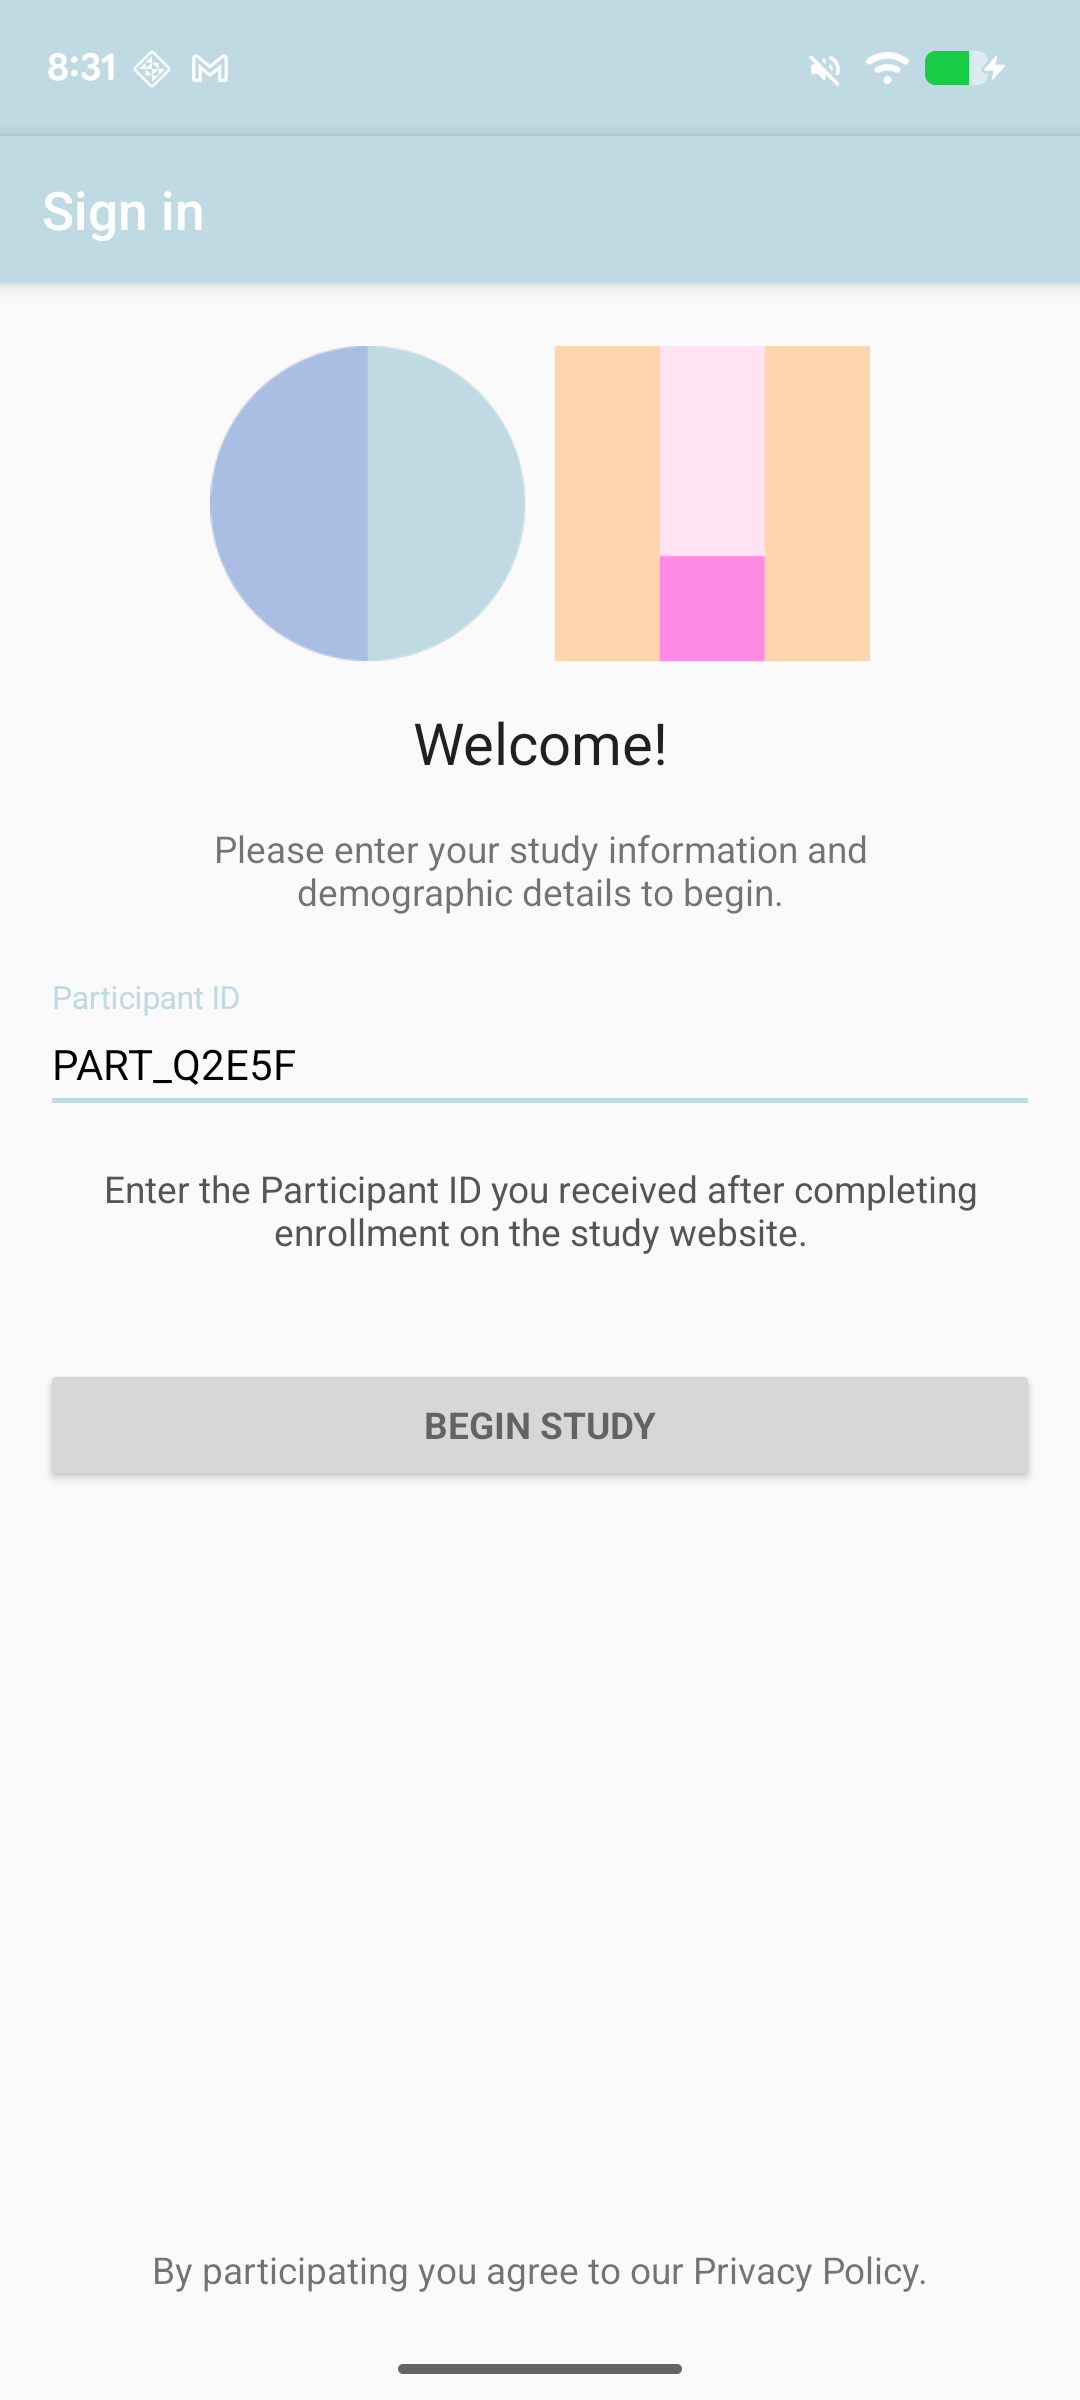
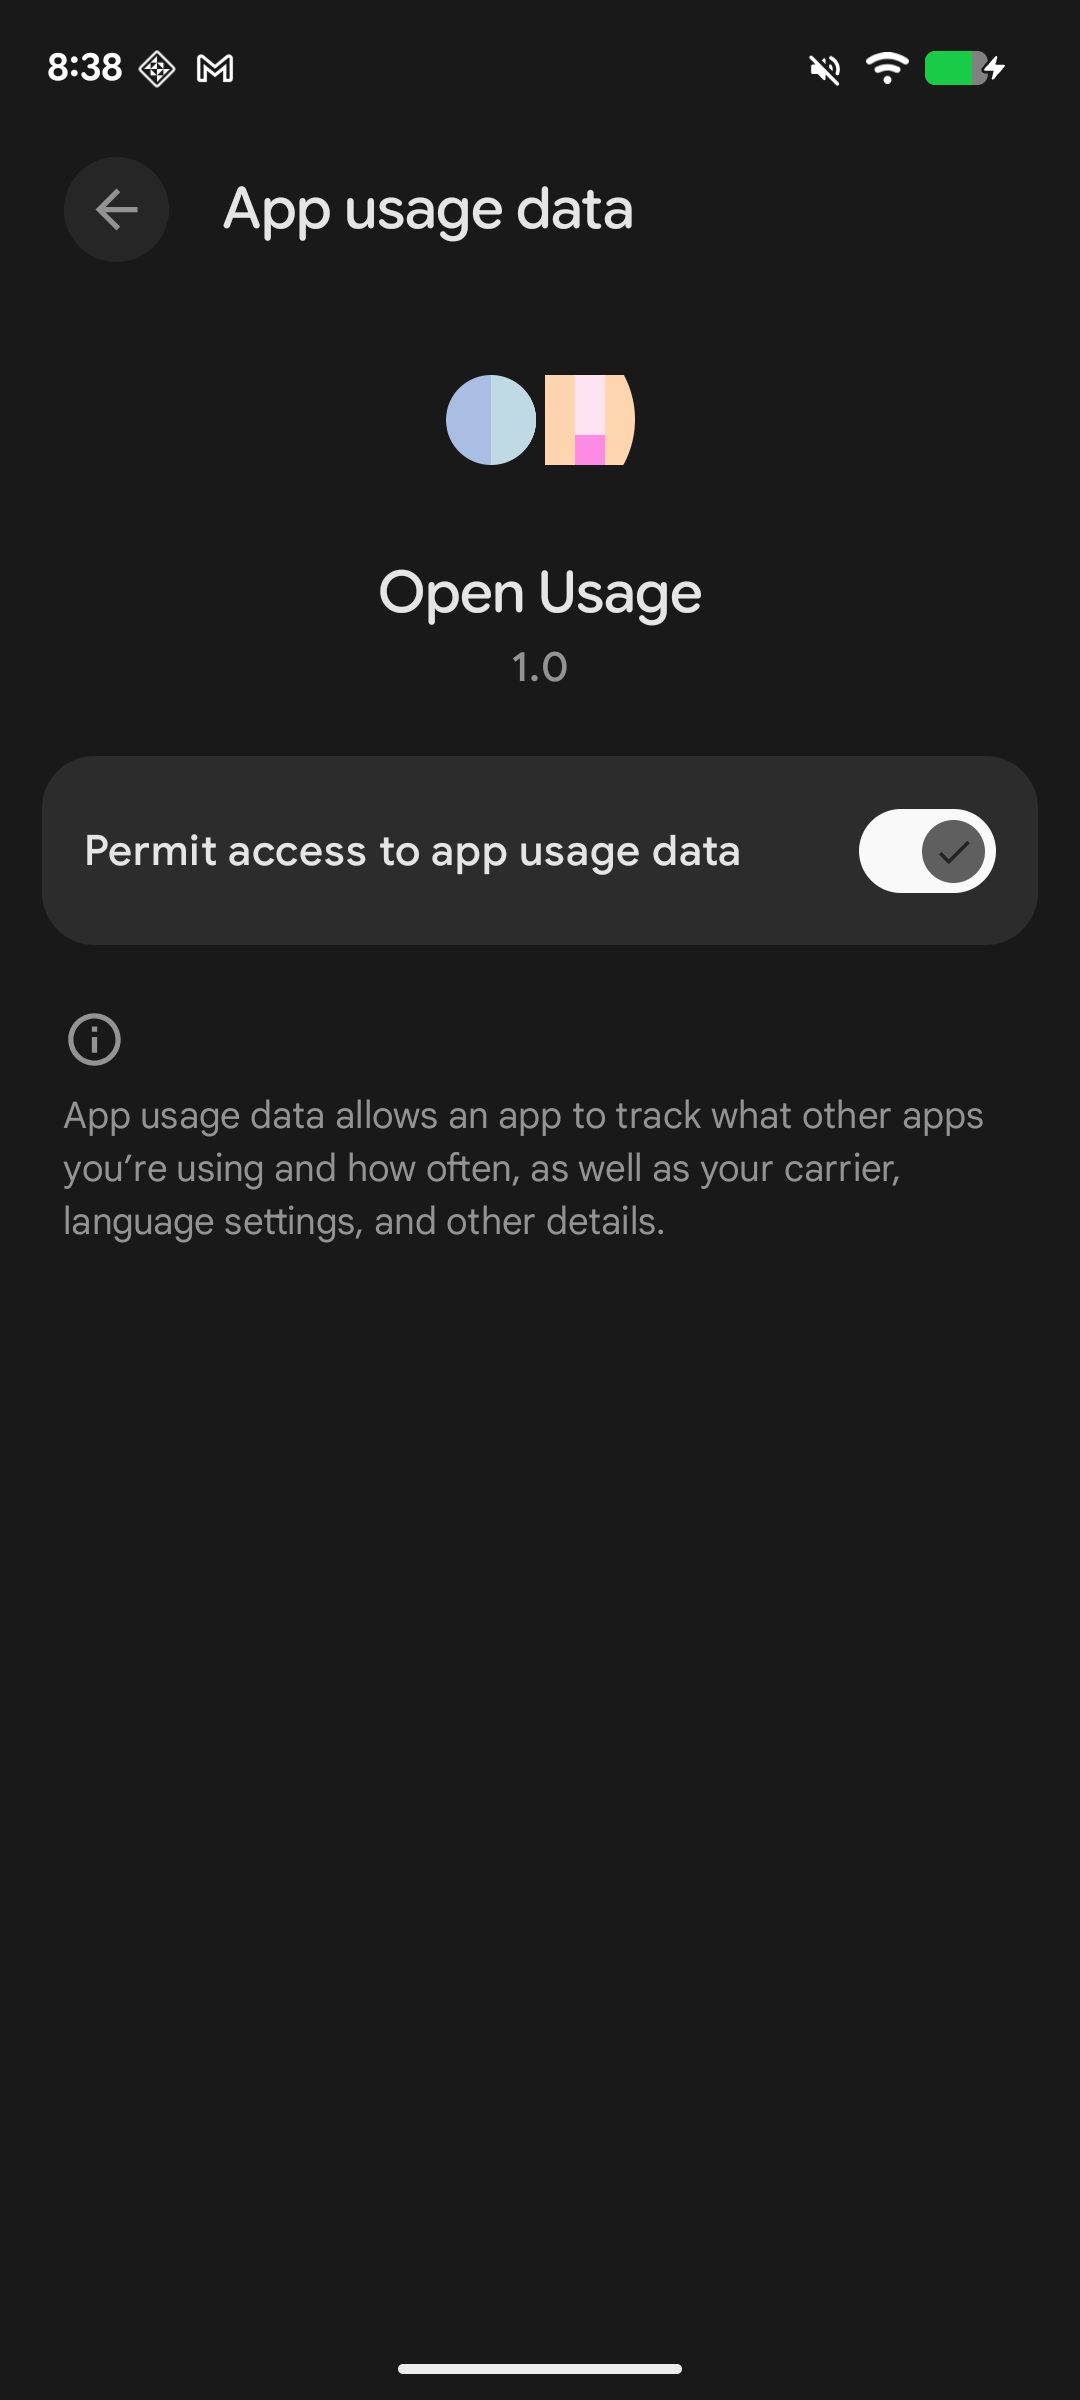
Once the app has been successfully downloaded onto your device, please paste or manually type the granted Participant ID into the "Participant ID" section of the application, as seen in the image above. Once you fill this out, click "Begin Study", which will take you to the permissions page.
NOTE: Depending on your participant group, you will have to enable distinct permissions.
Upon trying to enable permissions, you will likely run into the issue of being unable to enable these permissions within the app. This will require the extra step of entering your settings, and looking for the Open Usage app within the "Apps" section of your settings, as seen below.
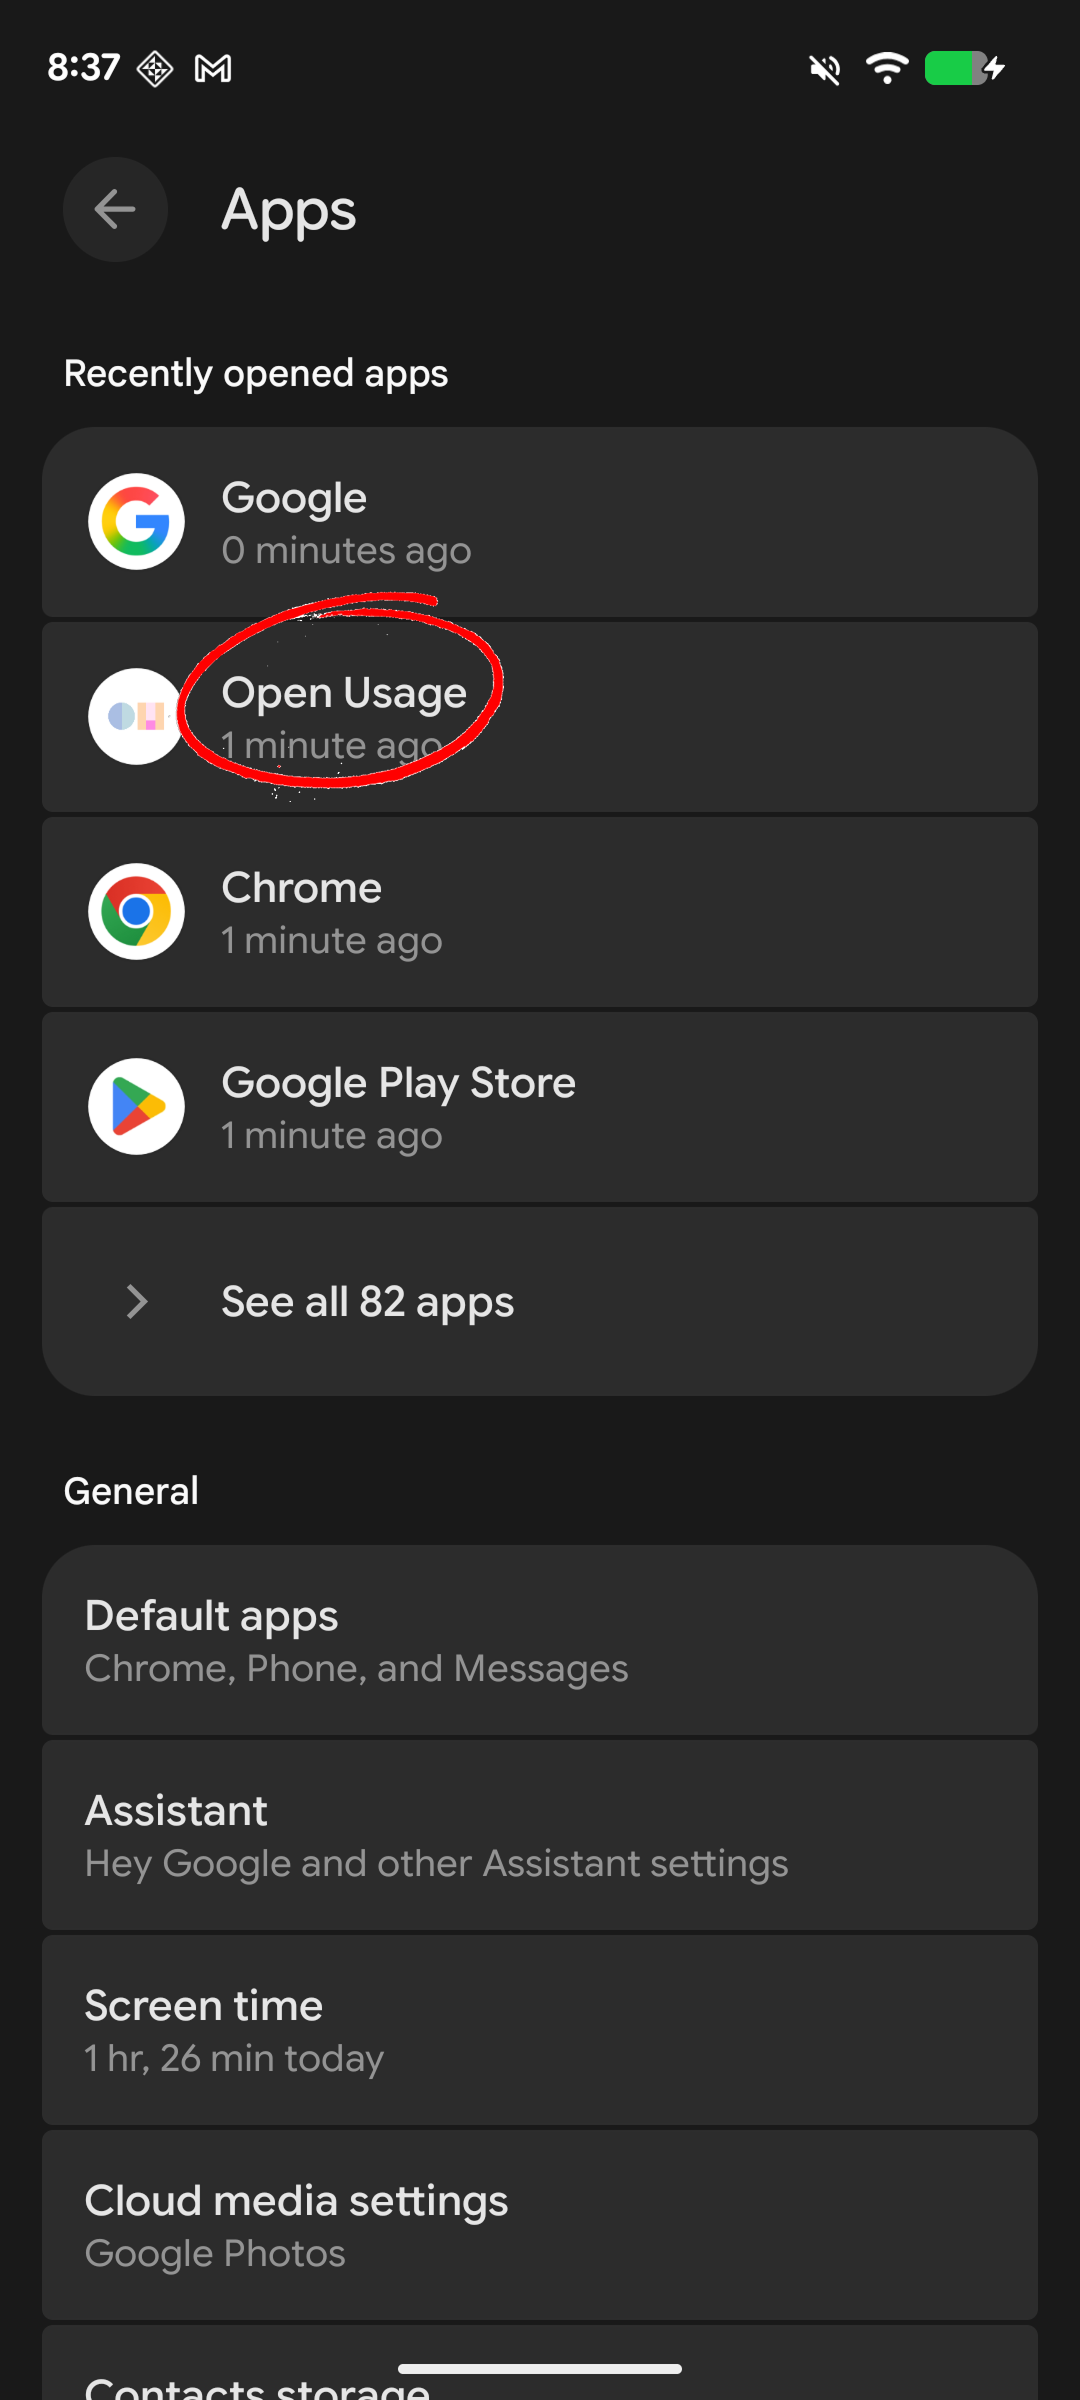
To be able to enable special permissions within the app, you must find the Open Usage app within the "Apps" section of your settings, and click on it.
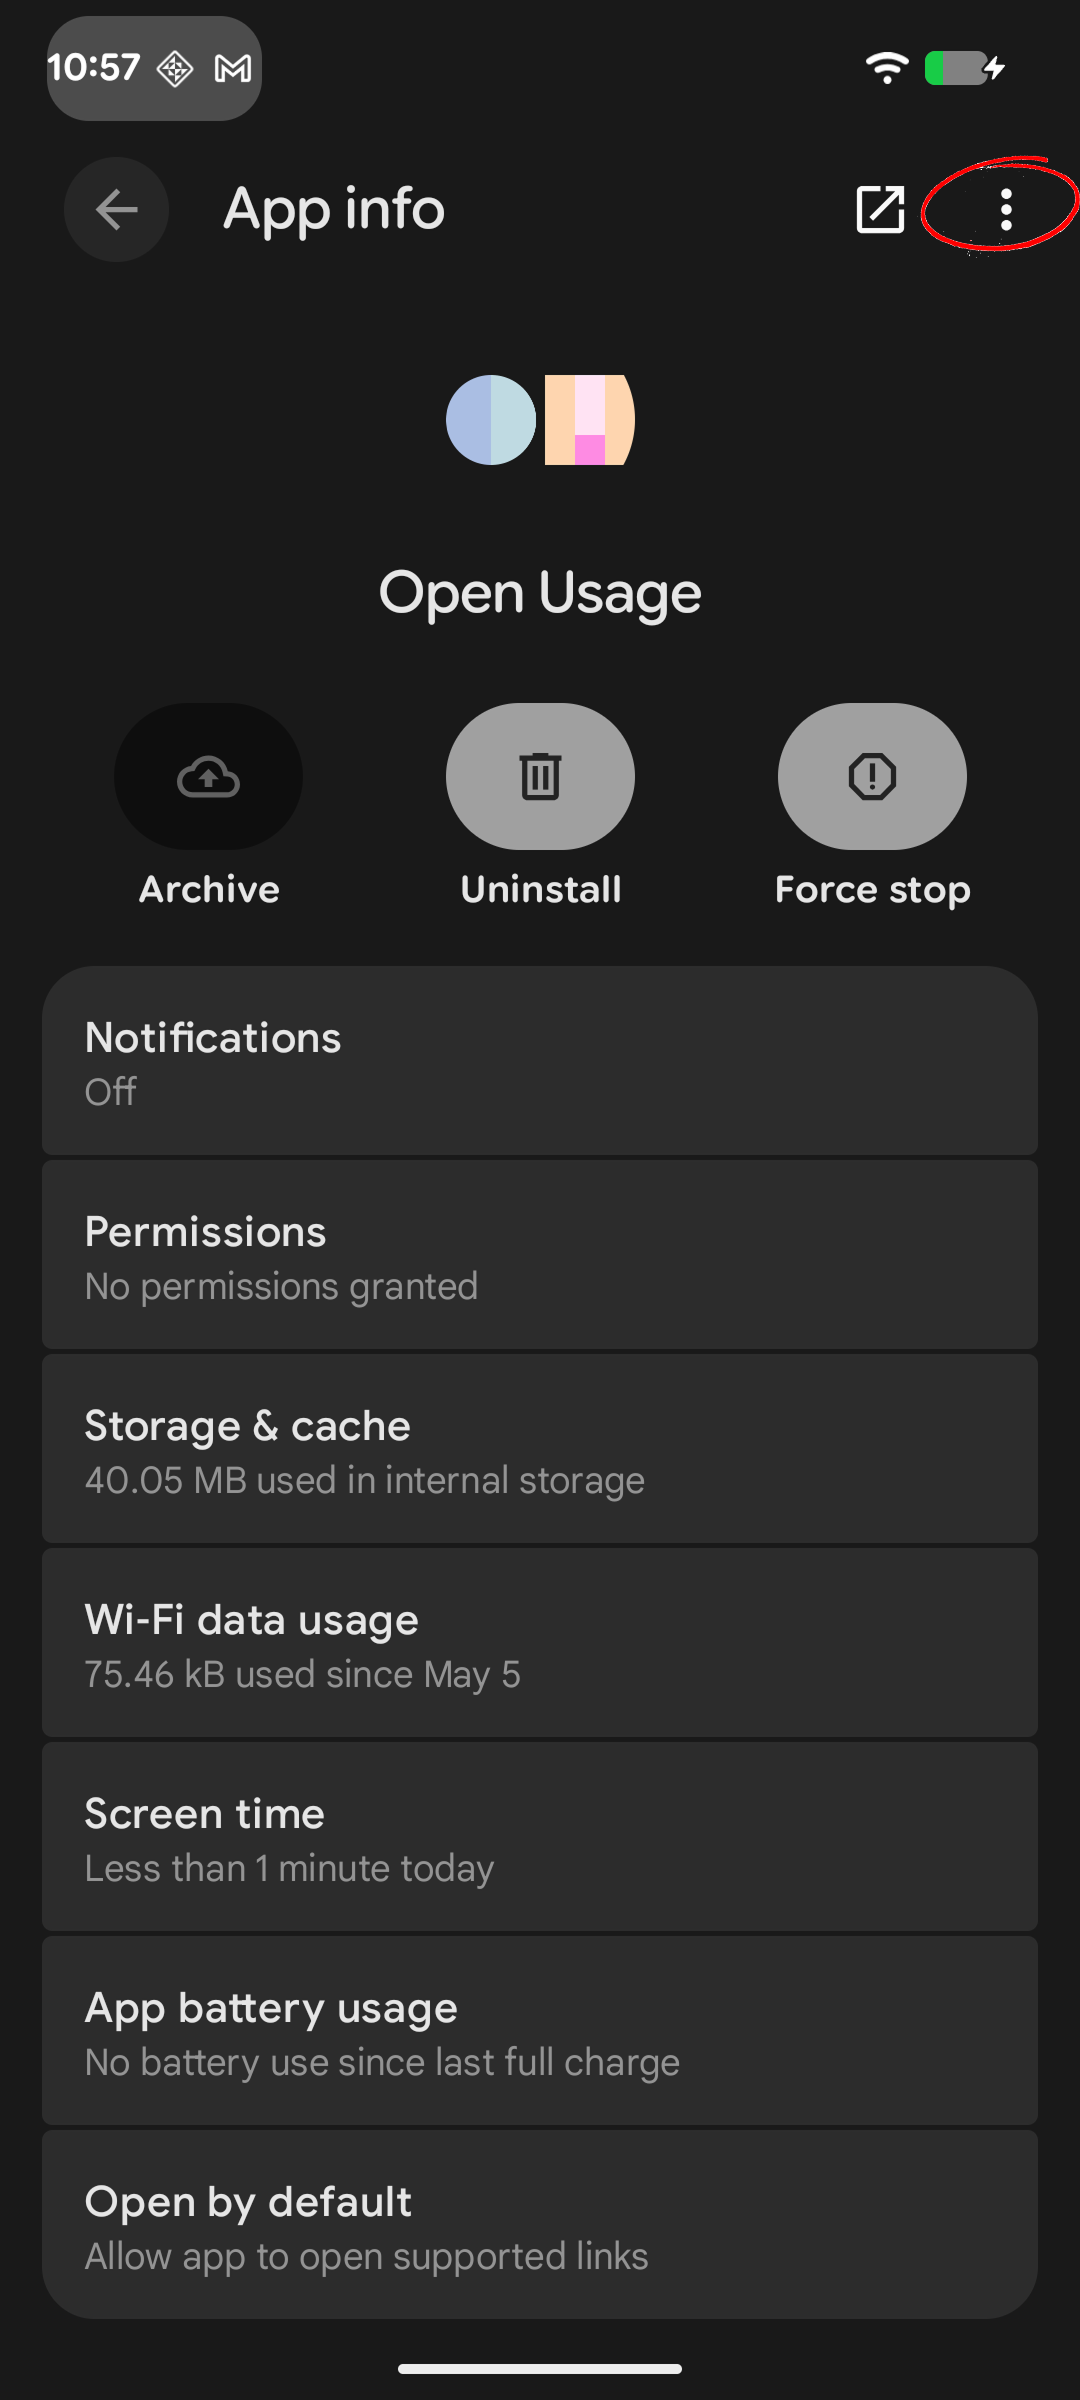
Upon entering this page, to enable special permissions, hit on the "⋮" in the top right corner of your device, as circled in the image above.
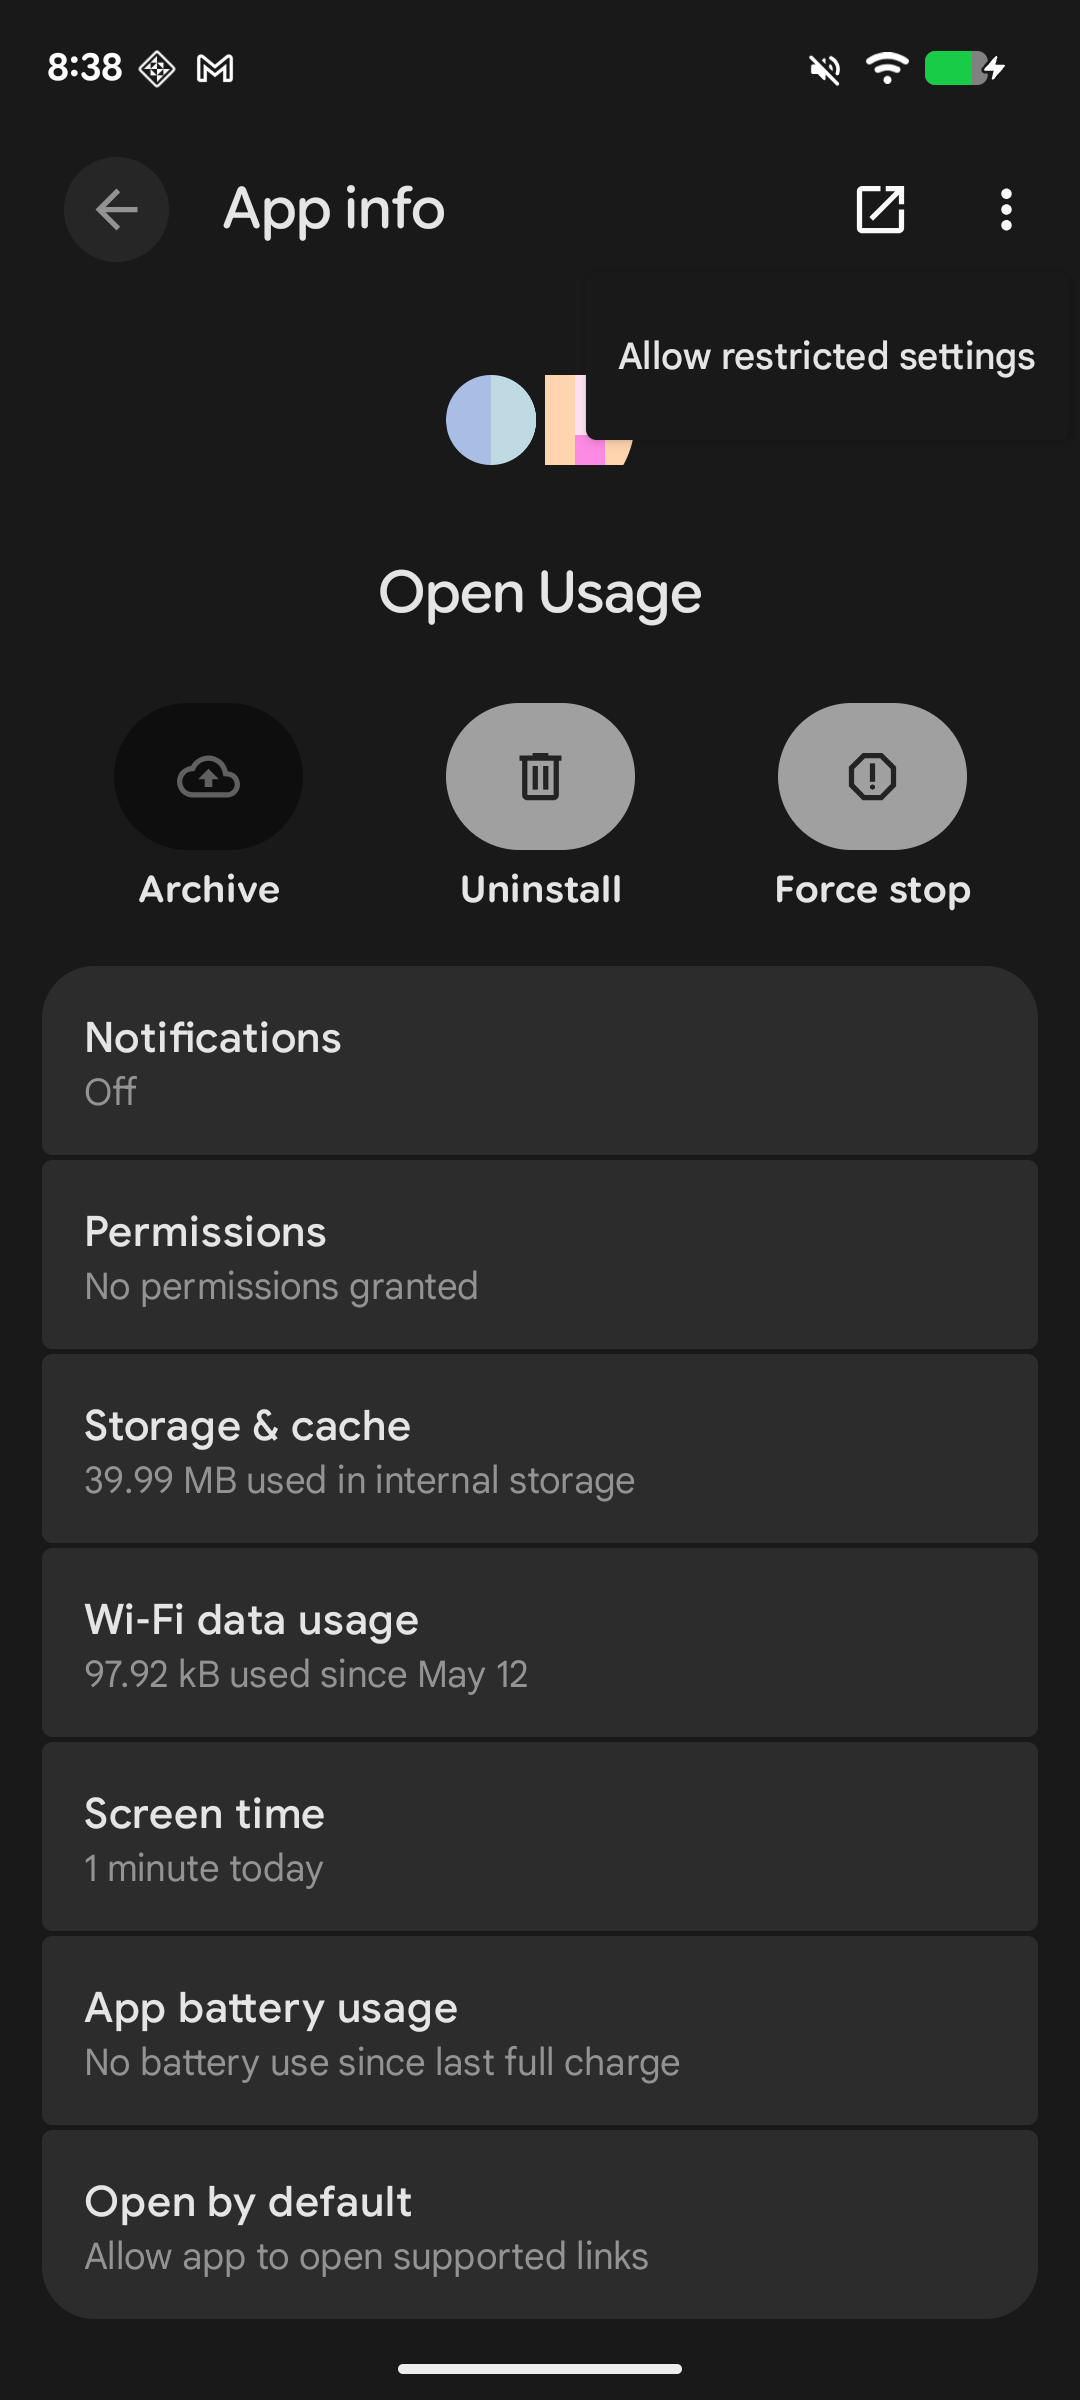
Next, you will see a pop up that says "Allow restricted settings". Please click on it for the tracking capabilities to be enabled within the app.
3. App tracking permissions
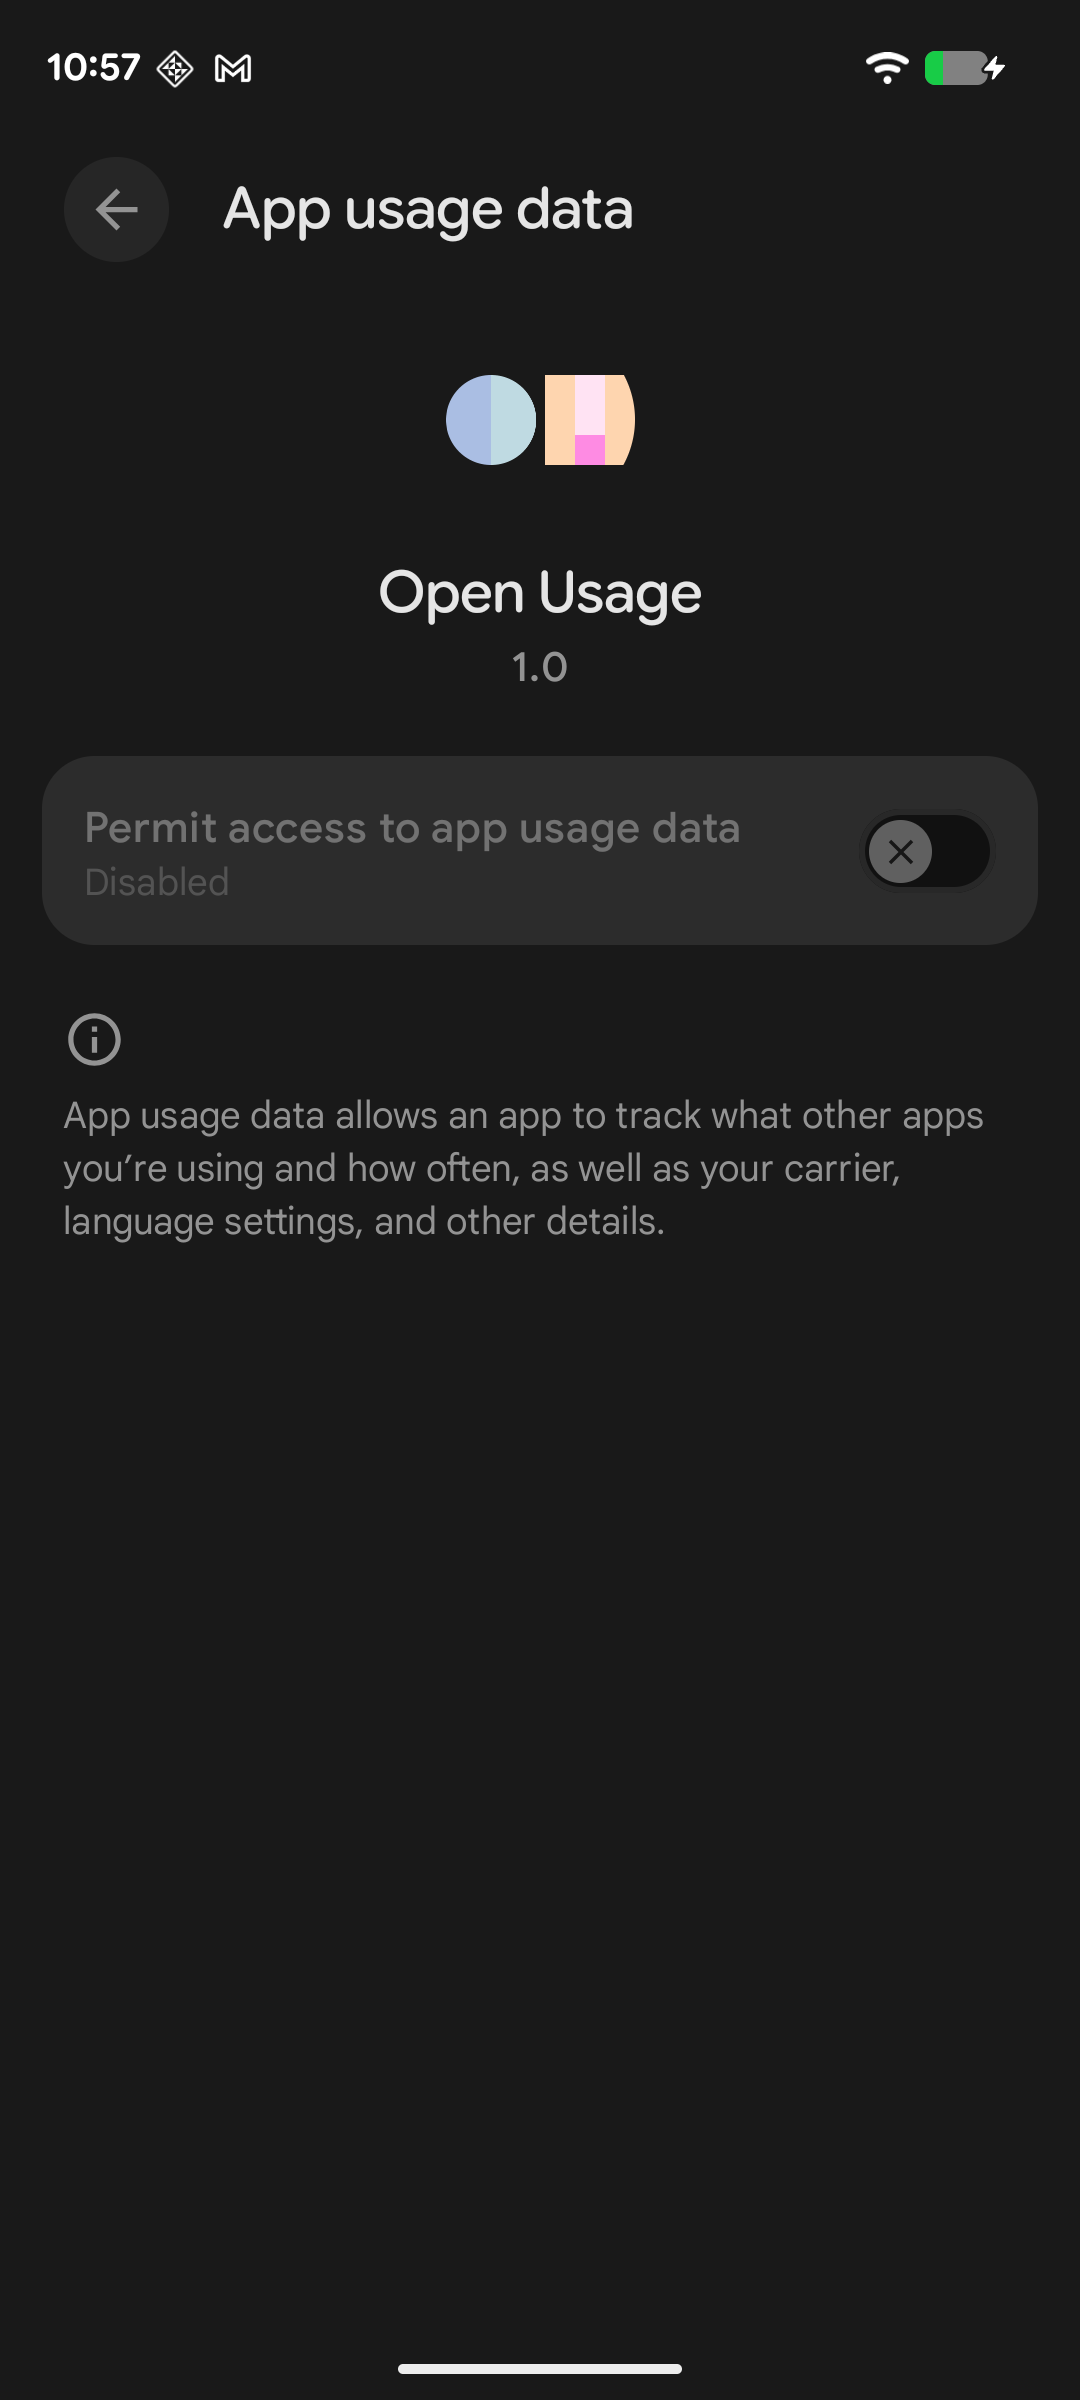
After special permissions have been enabled manually through the settings, you will now be able to enable all required permissions within the application. Return to the Open Usage app, and enable all requested permissions. Again, permissions will vary depending on your assigned participant group.
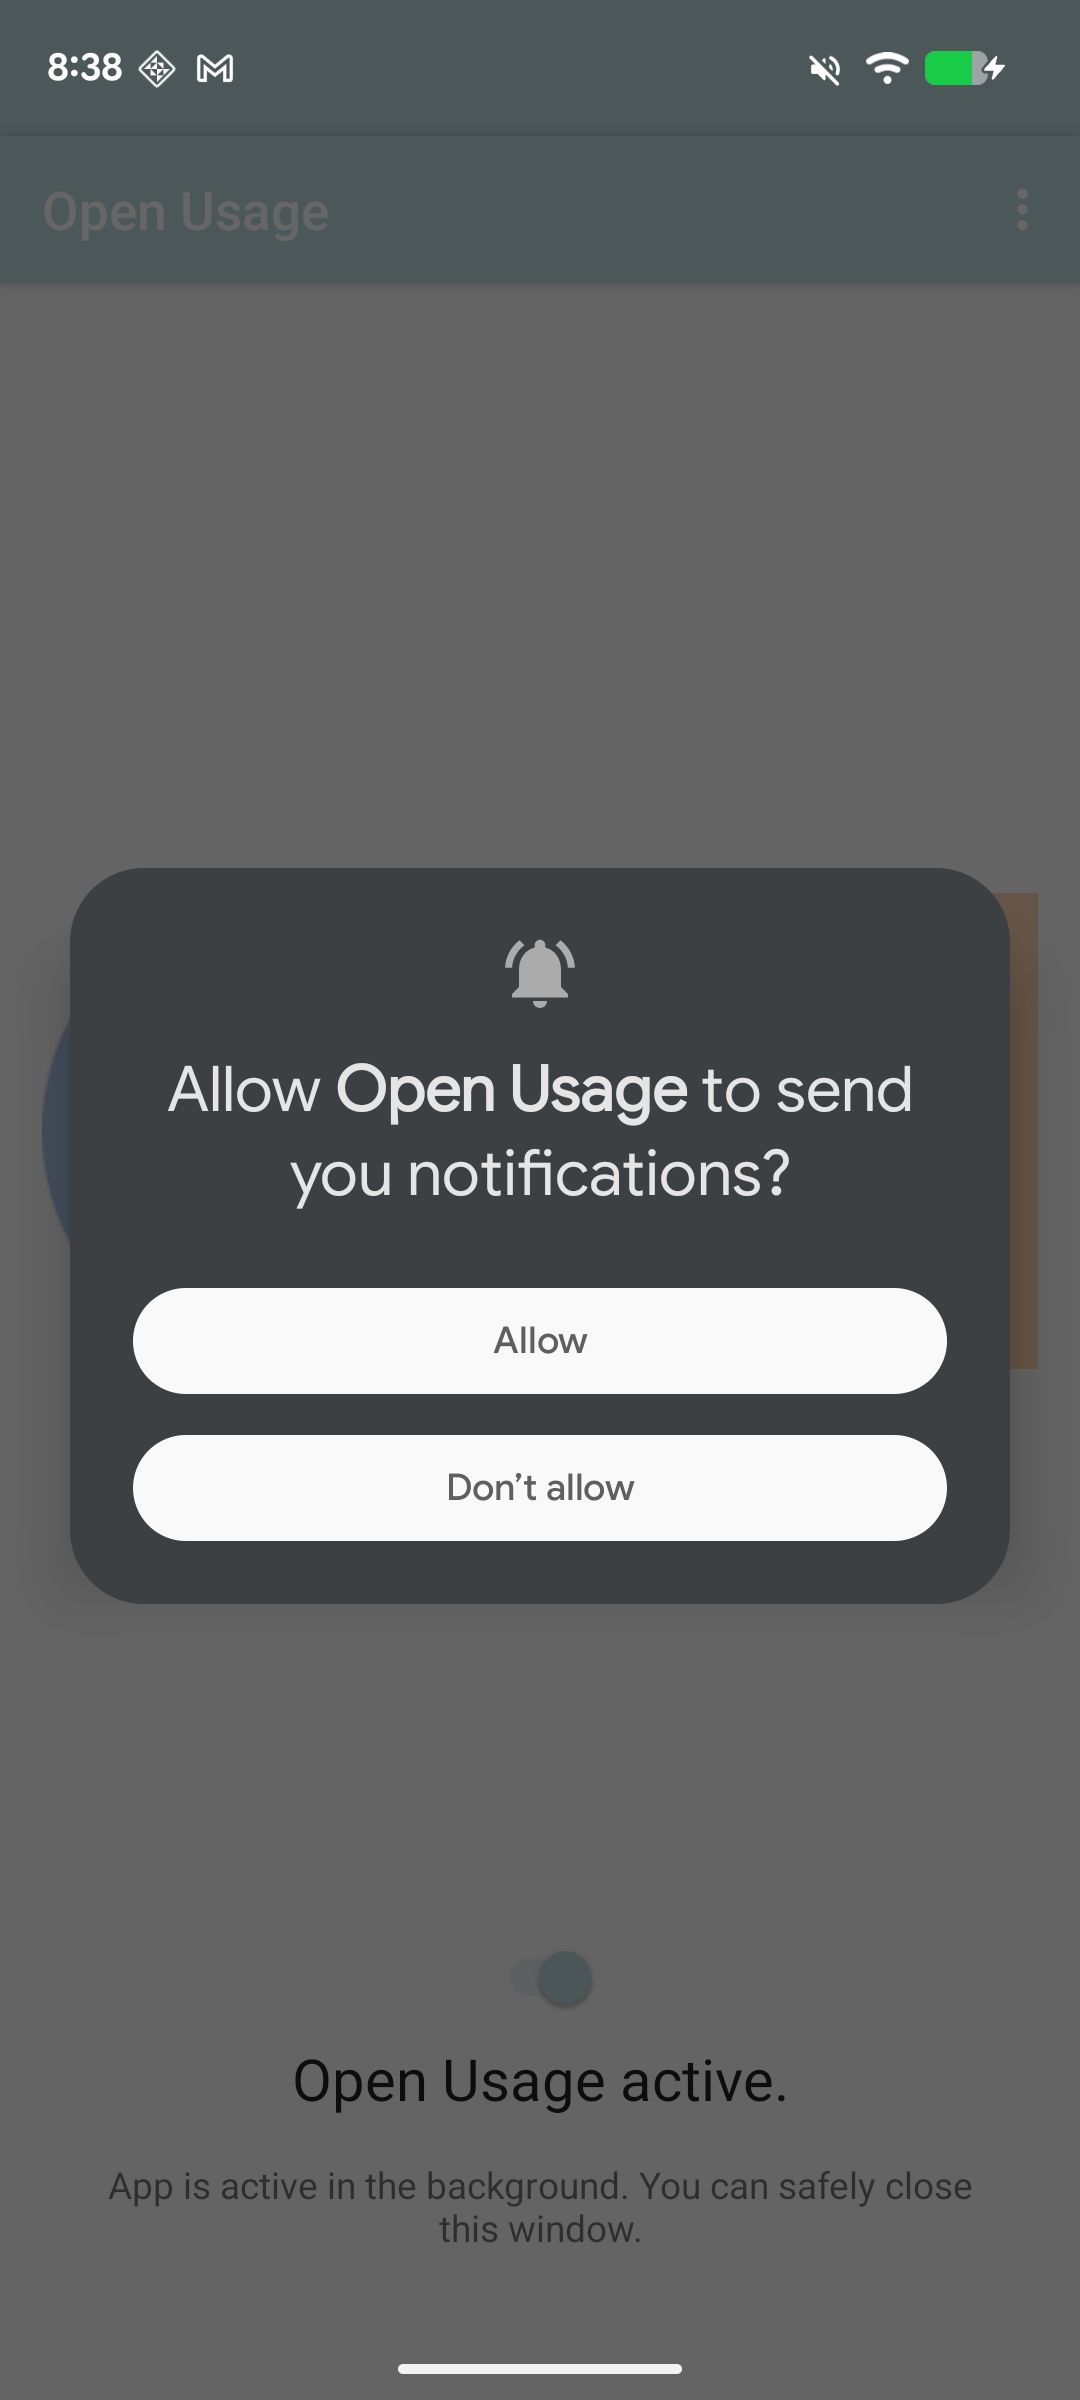
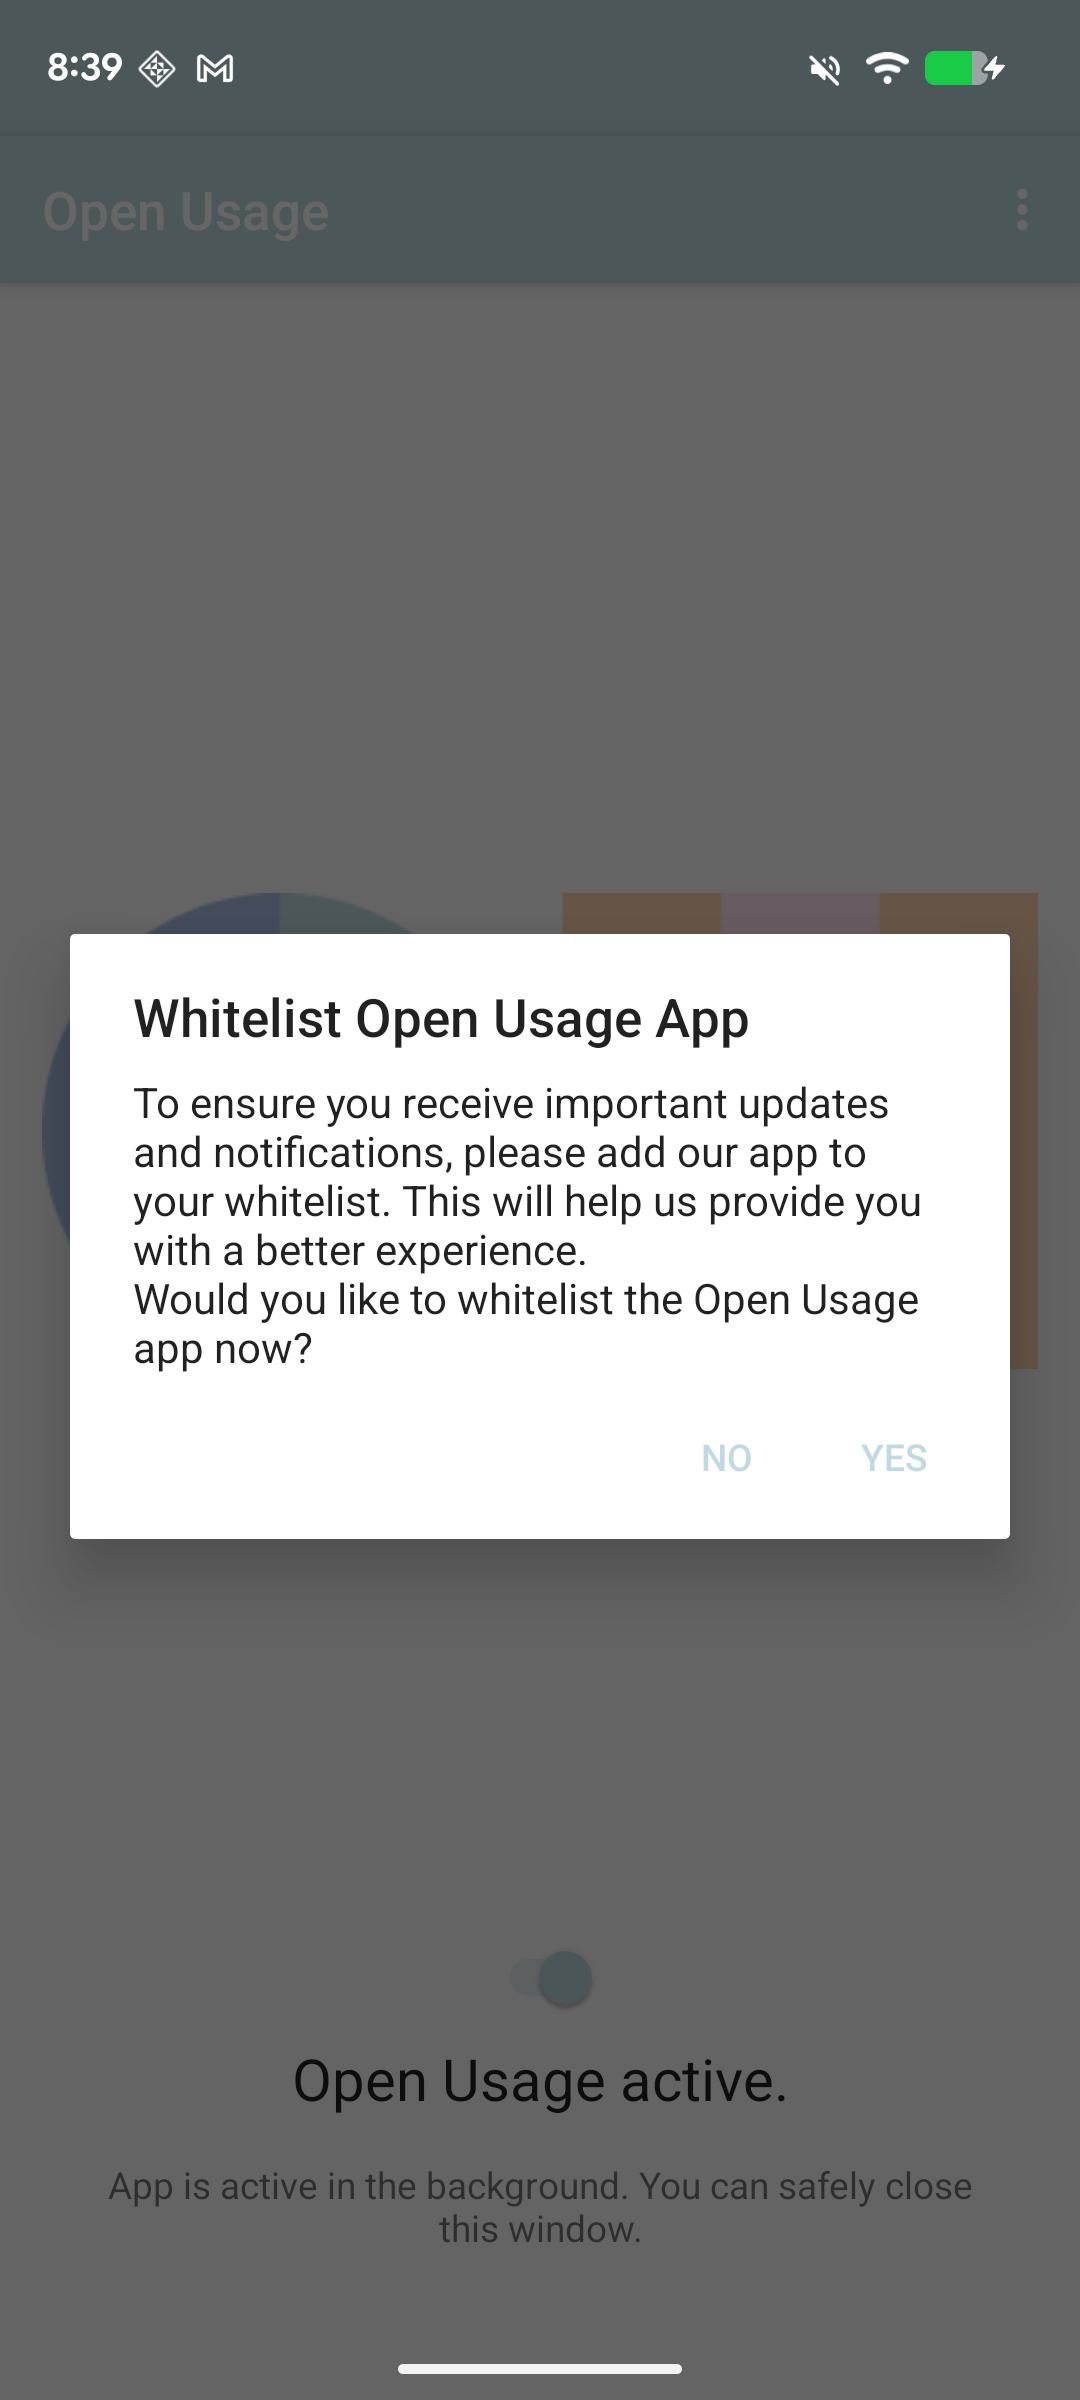
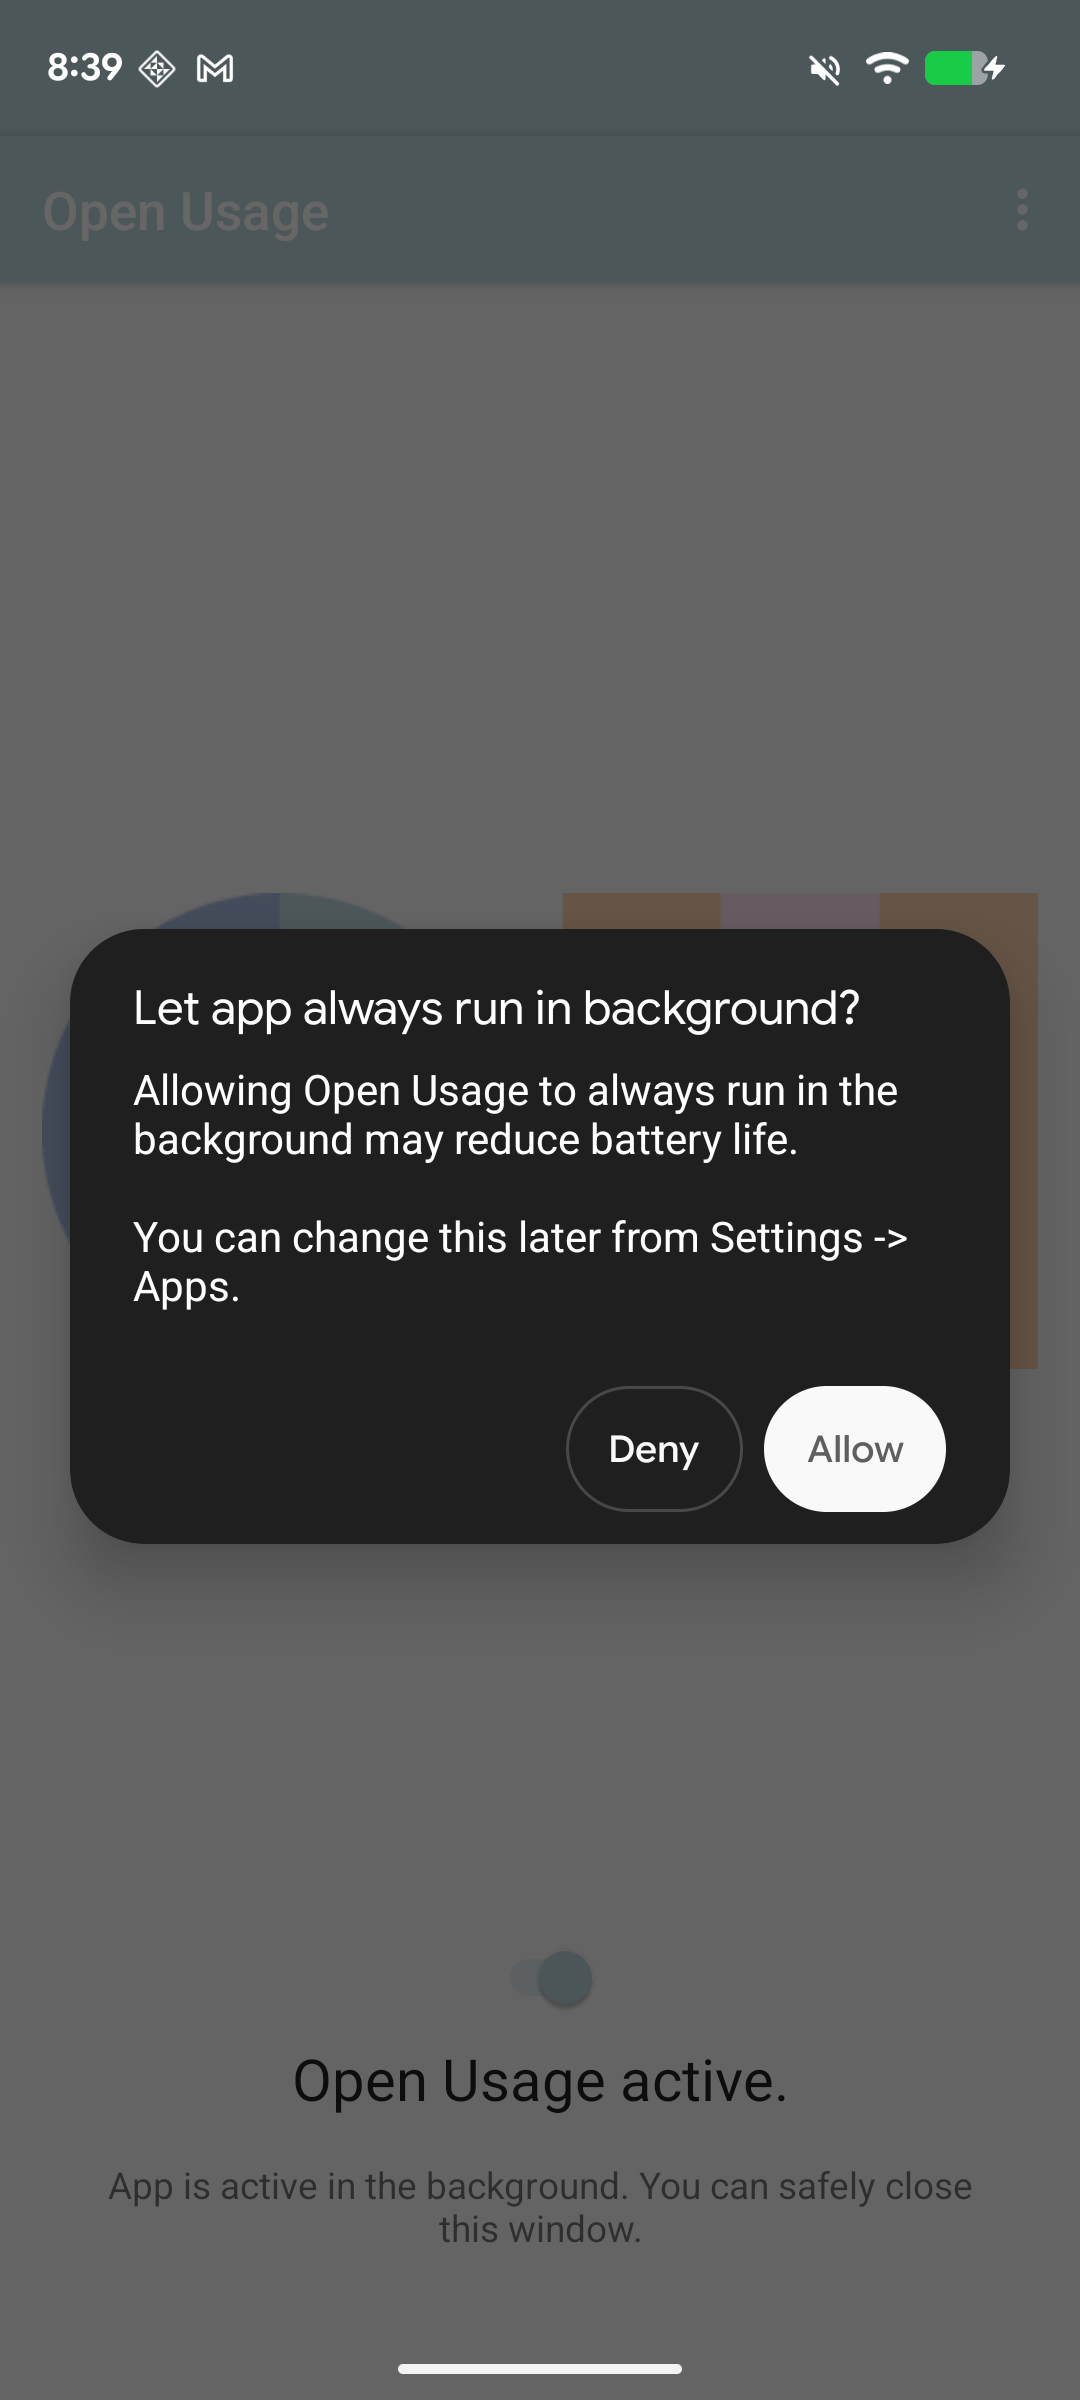
After enabling all permissions, you will be prompted to enable the settings in the images above. Please click "Allow/Yes" whenever prompted to ensure that the app is granted the necessary permissions to collect data while it runs in the background, and to notify you of any important information.
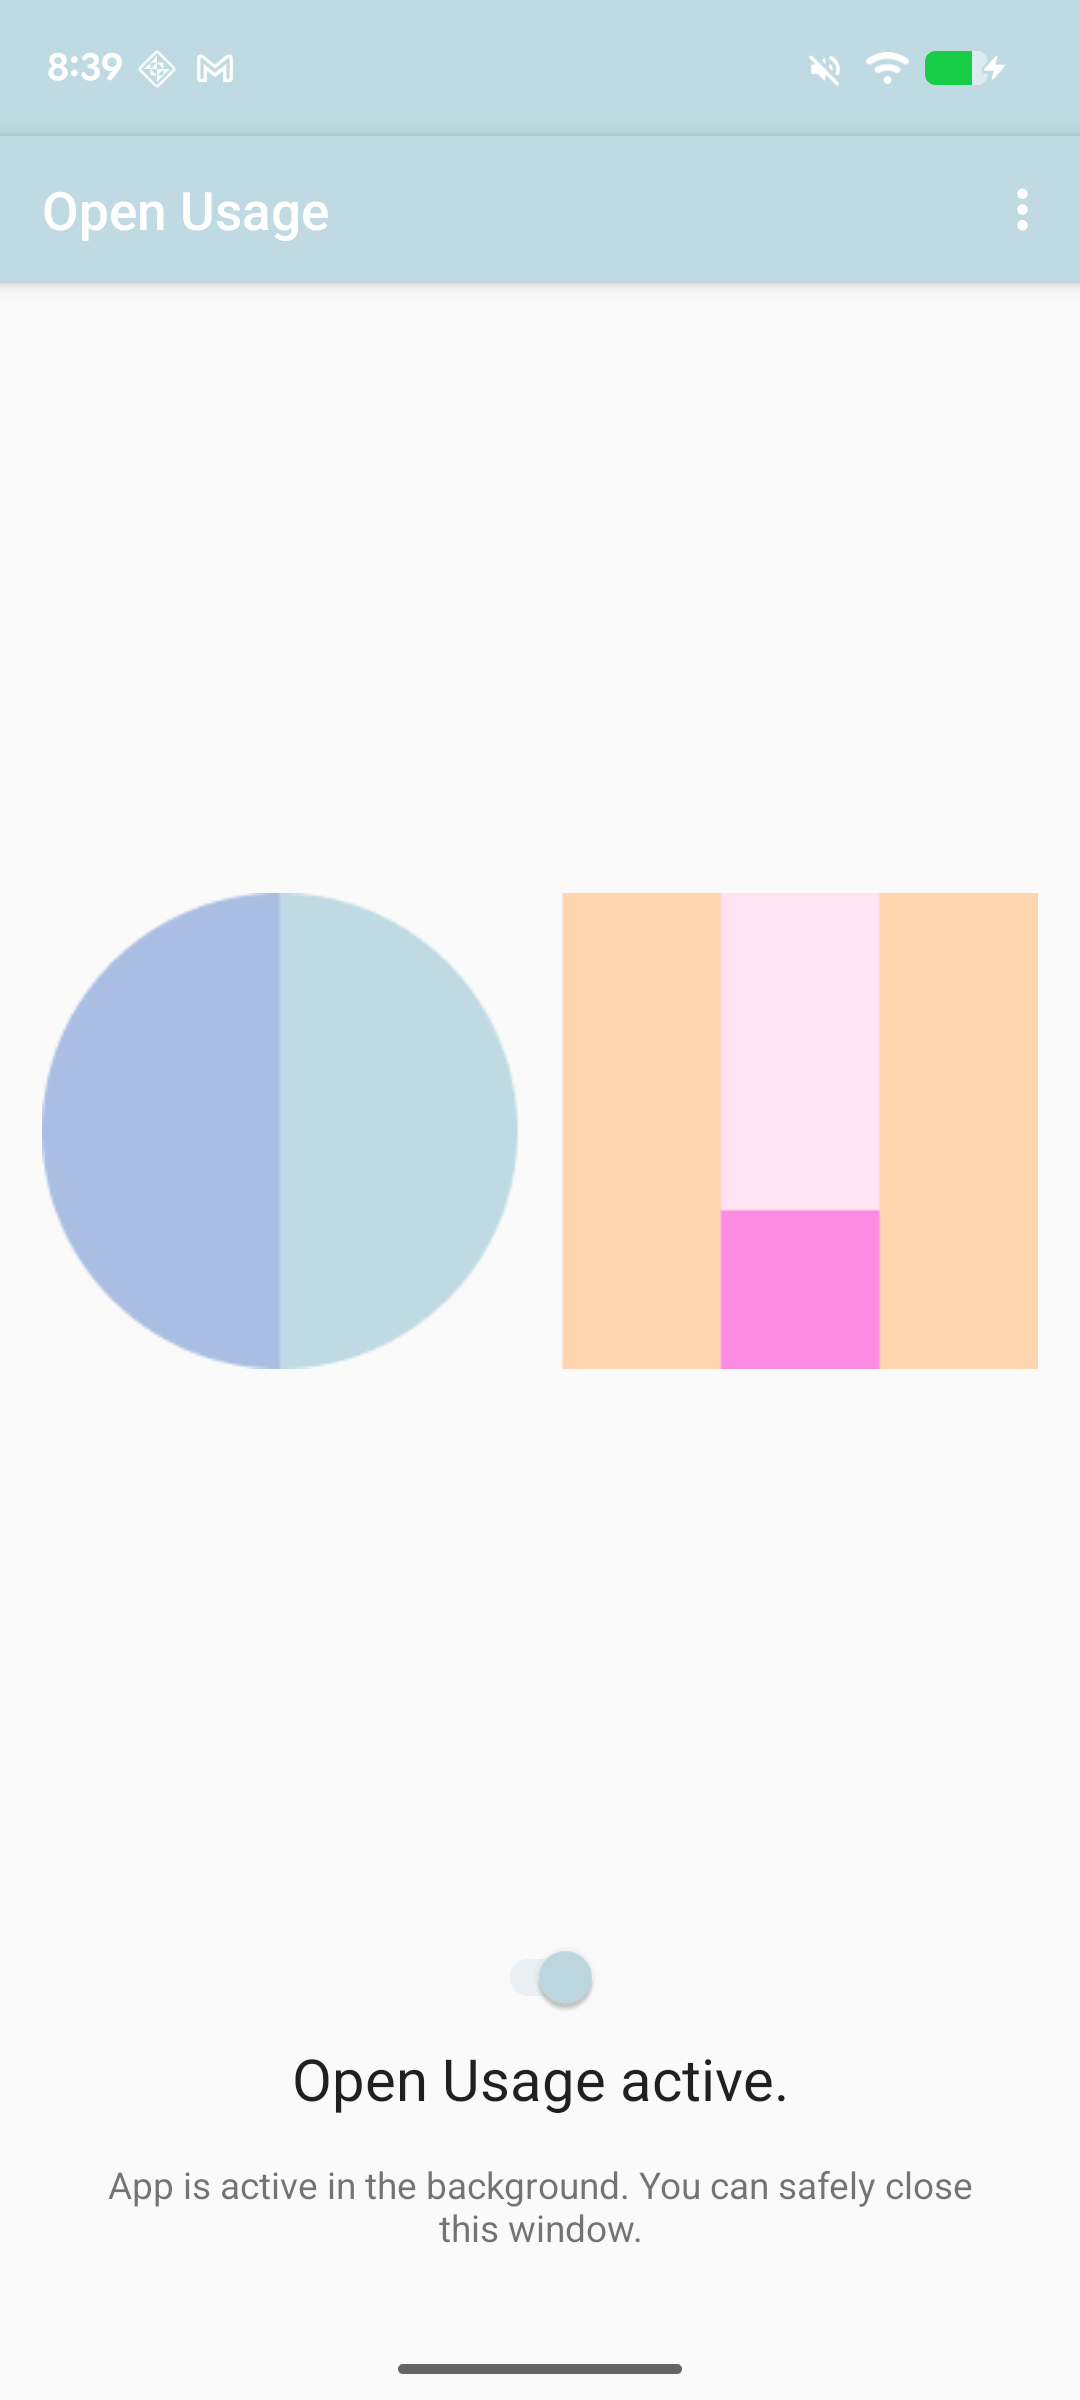
If you have successfully completed all prior steps, you will see the page in the image above. You are all set to participate!
FAQs
Why did I get re-prompted to enable Media Projection?

Whenever you turn off your device, the application will re-prompt you to enable Media Projection permissions. Please re-enable this permission, as this will permit the application to continue collecting data.
Why is there a red "recording" icon when I enable Media Projection permissions?
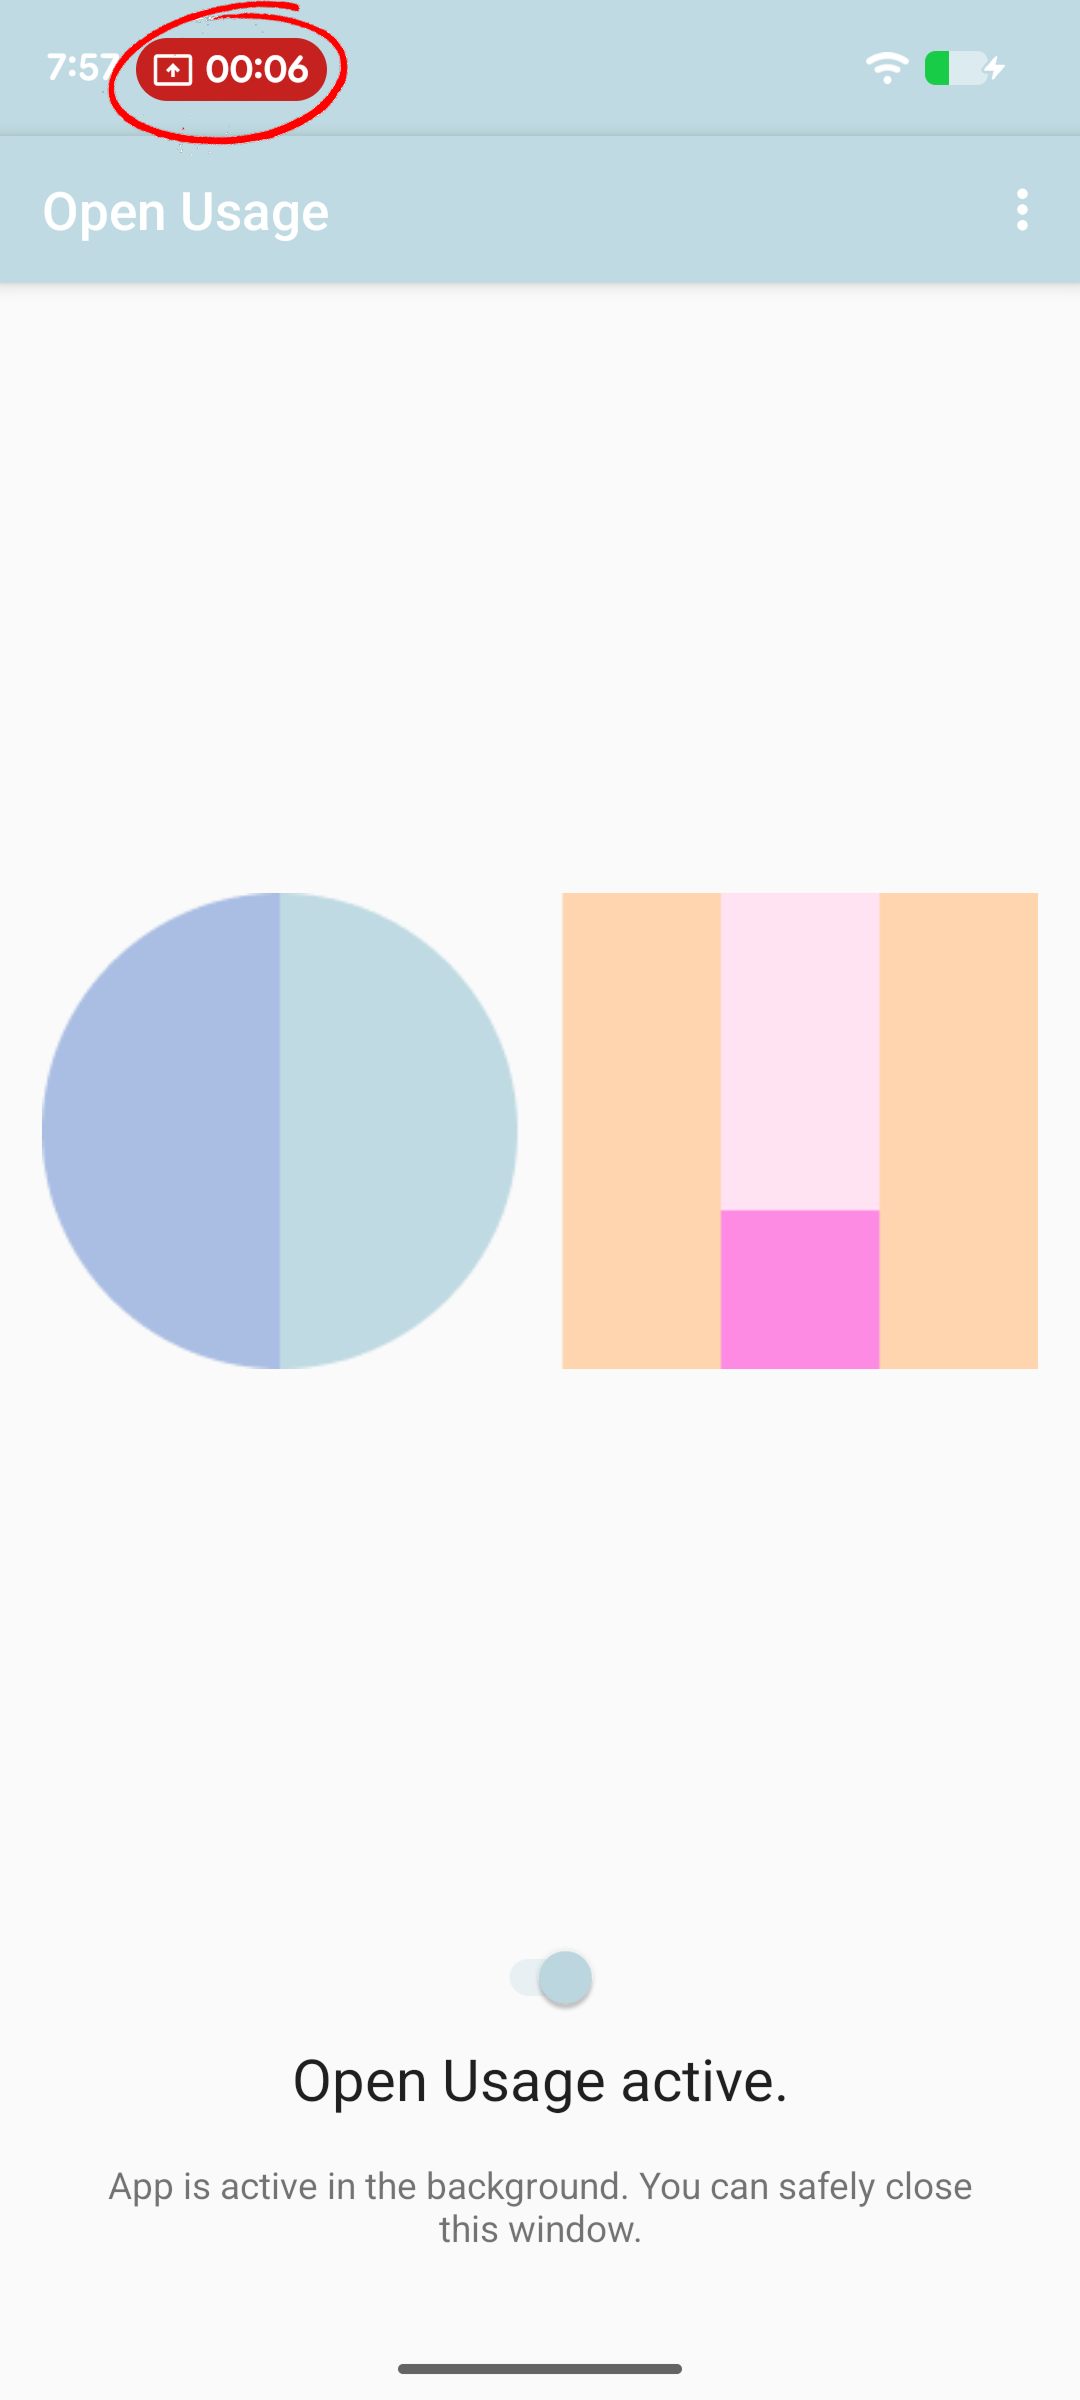
Please note that this icon does not mean that the application is actively recording your device, rather it is an indicator that Media Projection permissions are currently enabled. It is required by the Android API that this icon be present, but no recording is being done, rather data is collected through periodic screenshots.